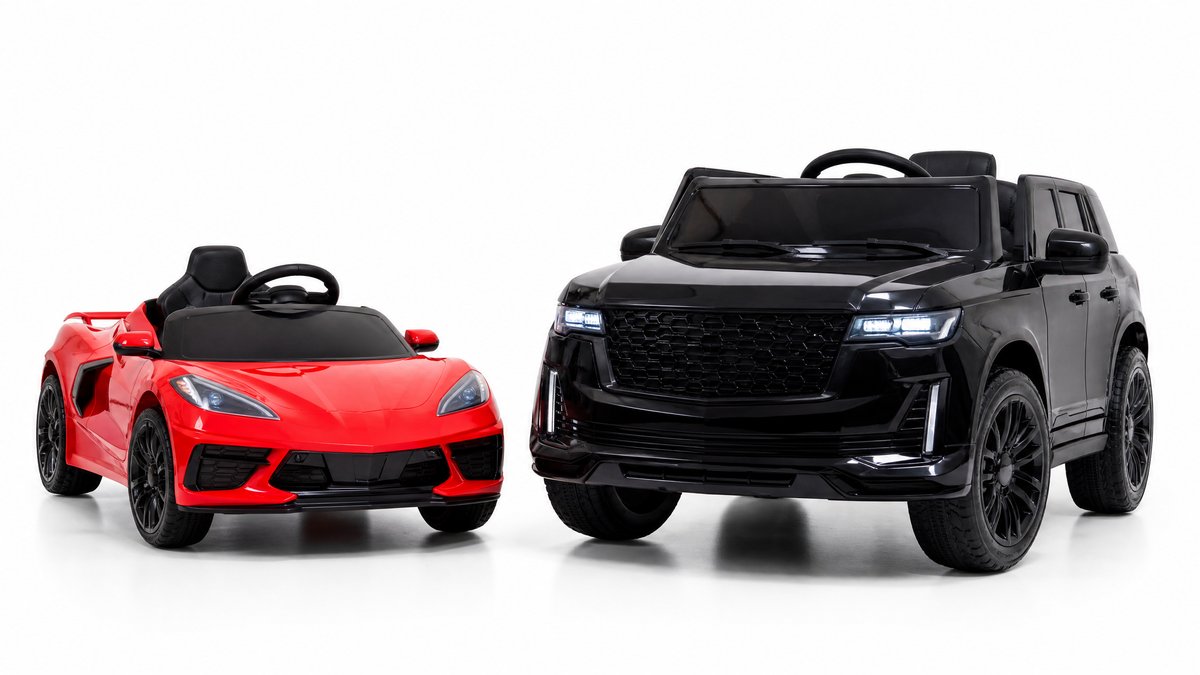
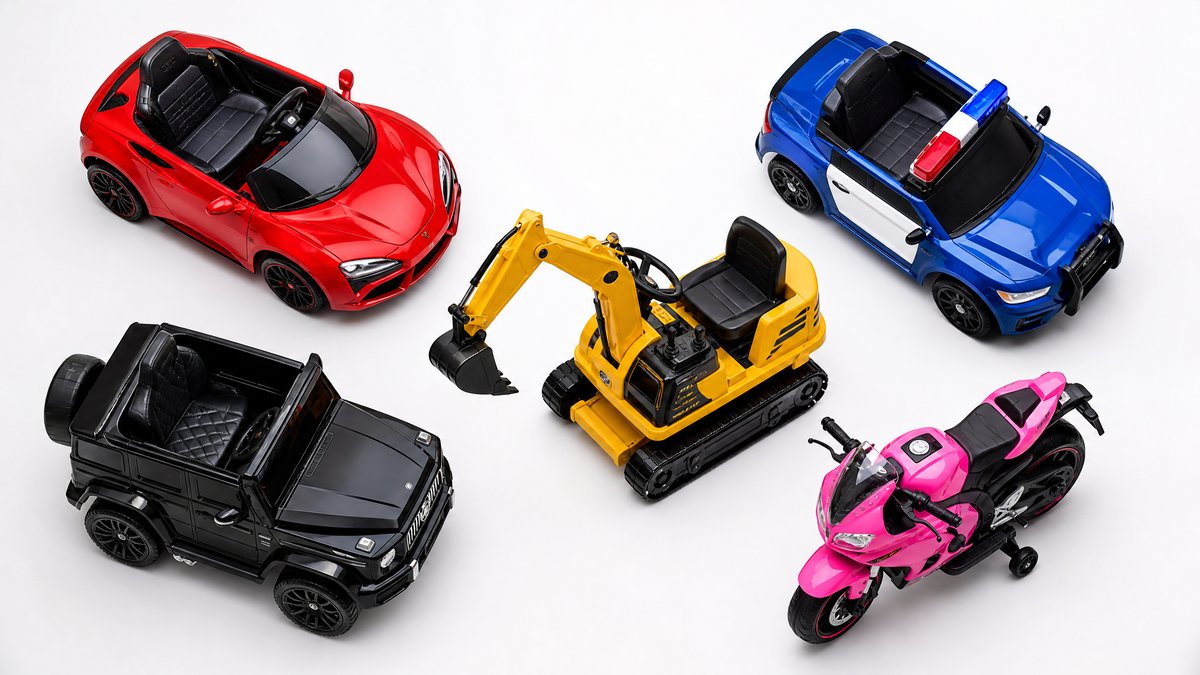
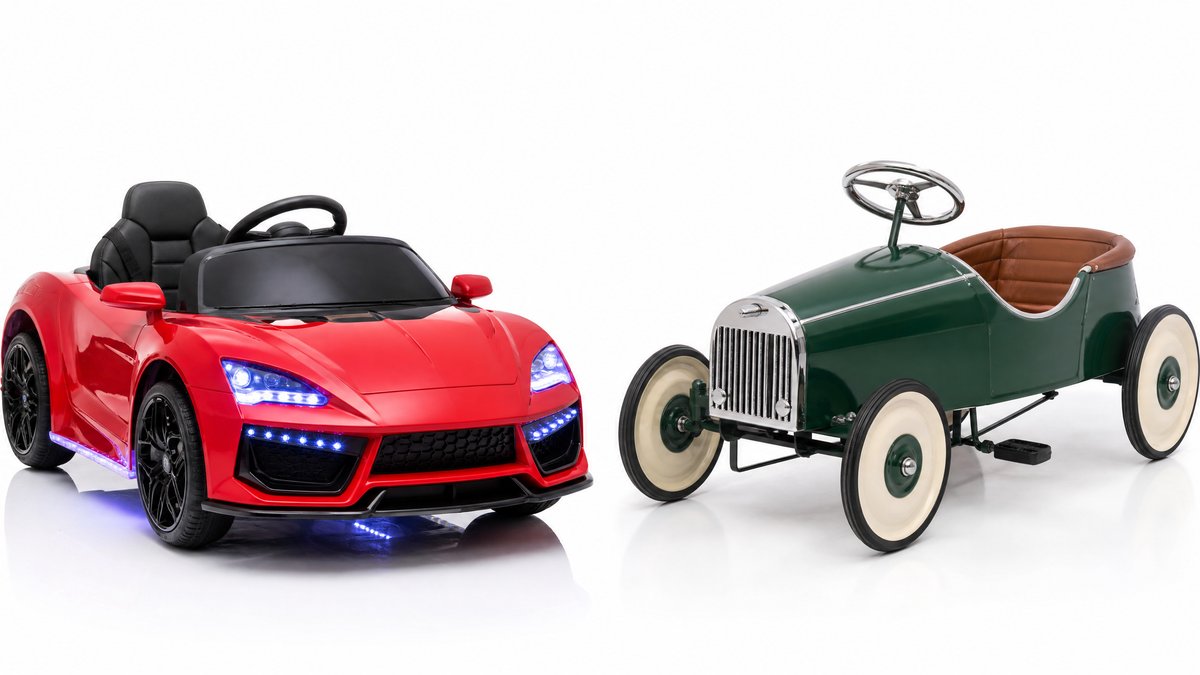
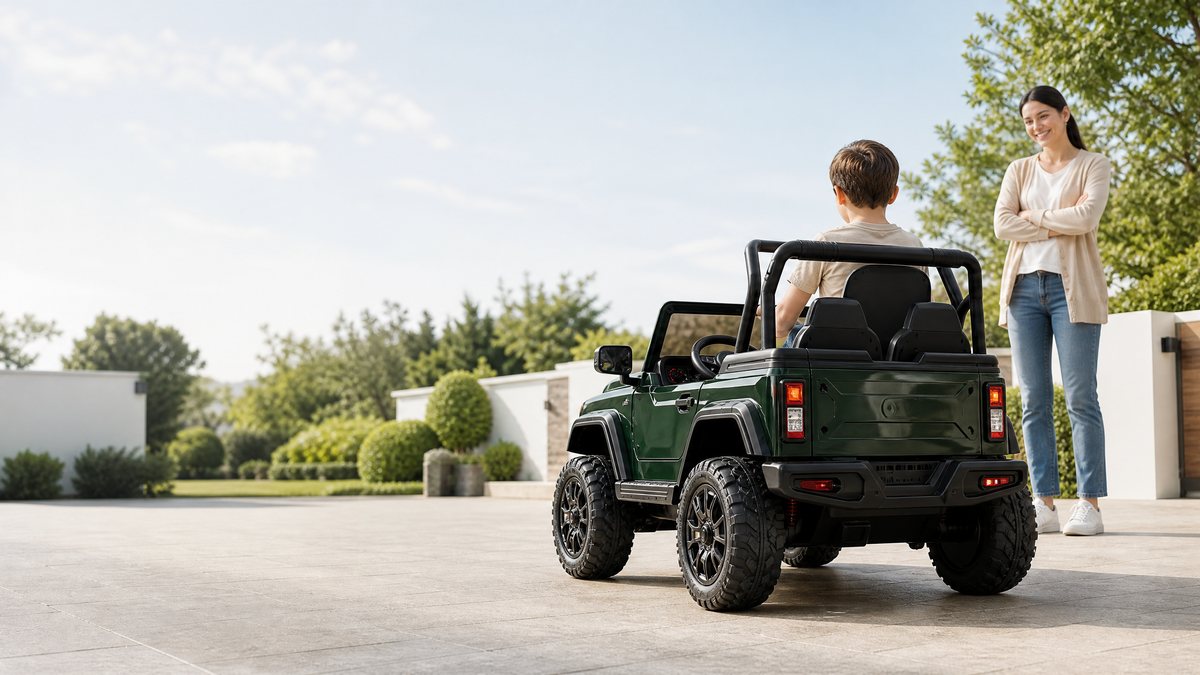
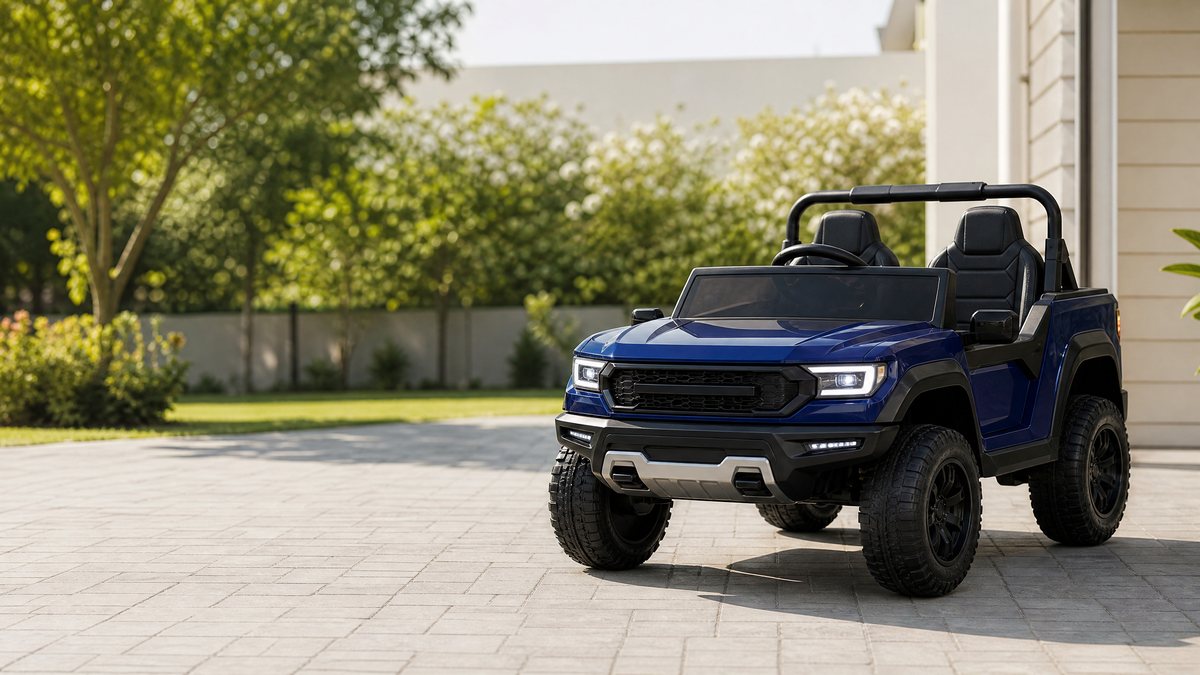
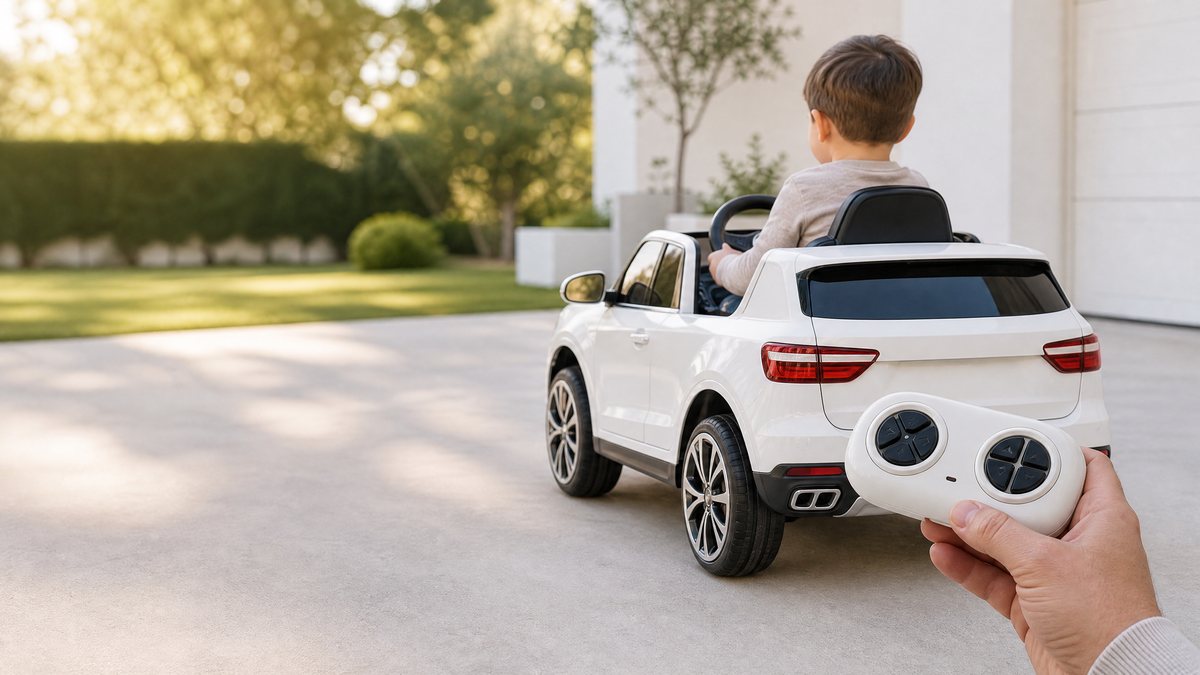
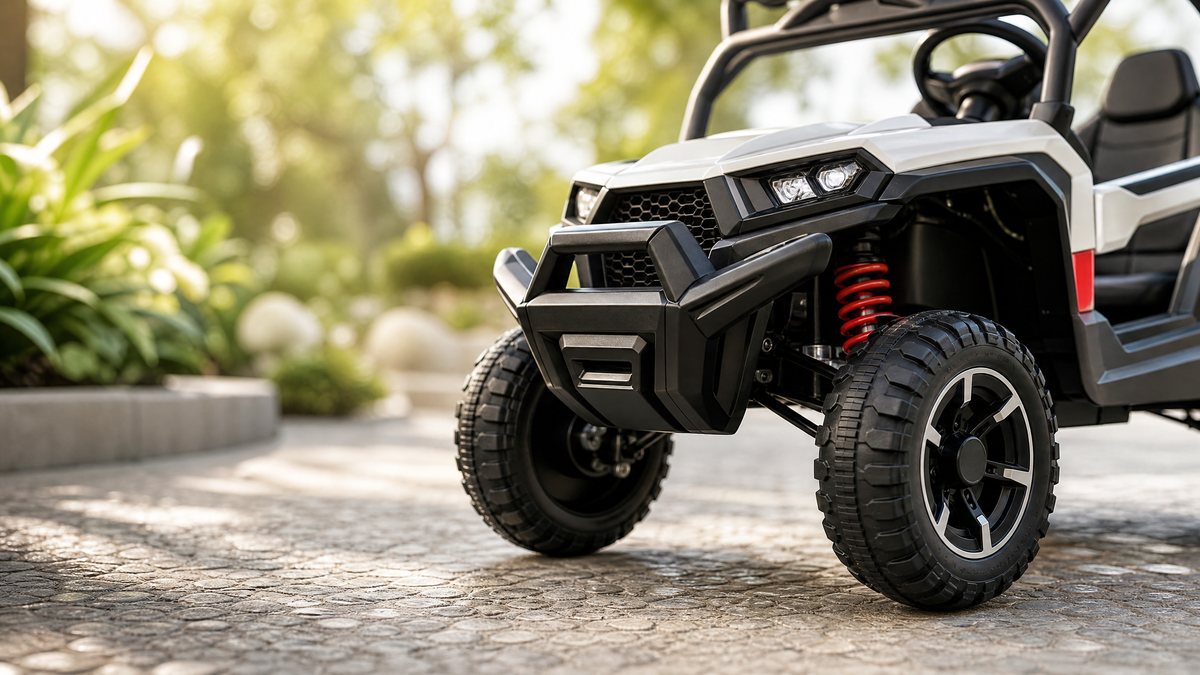
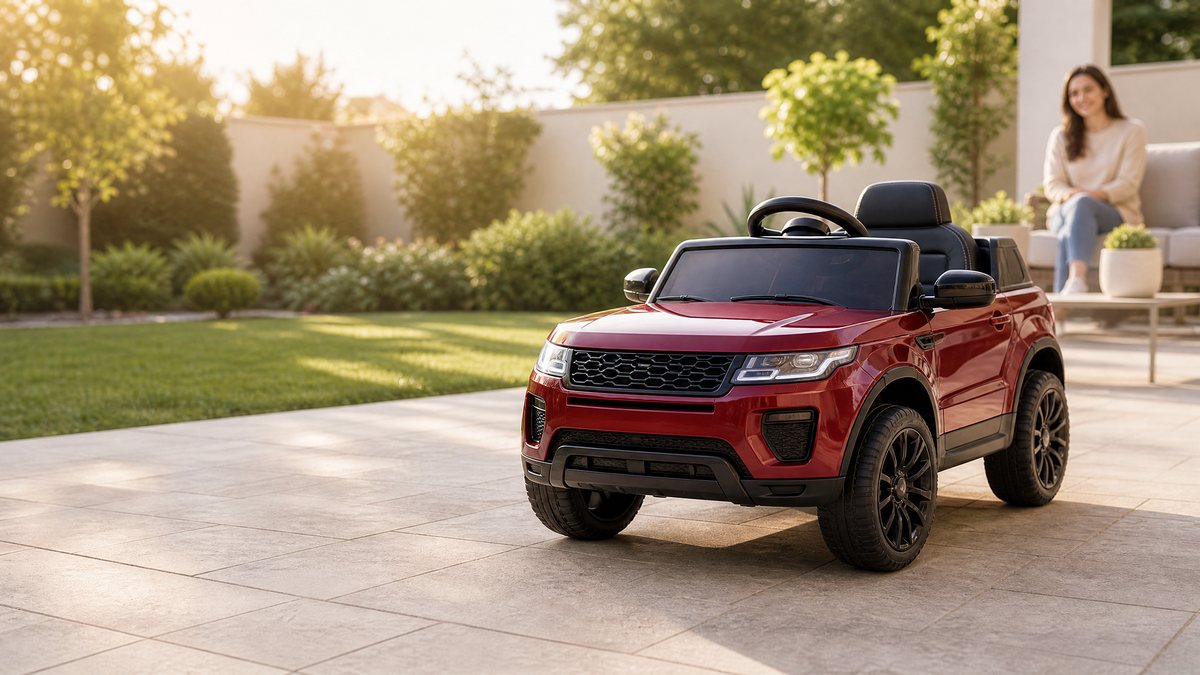
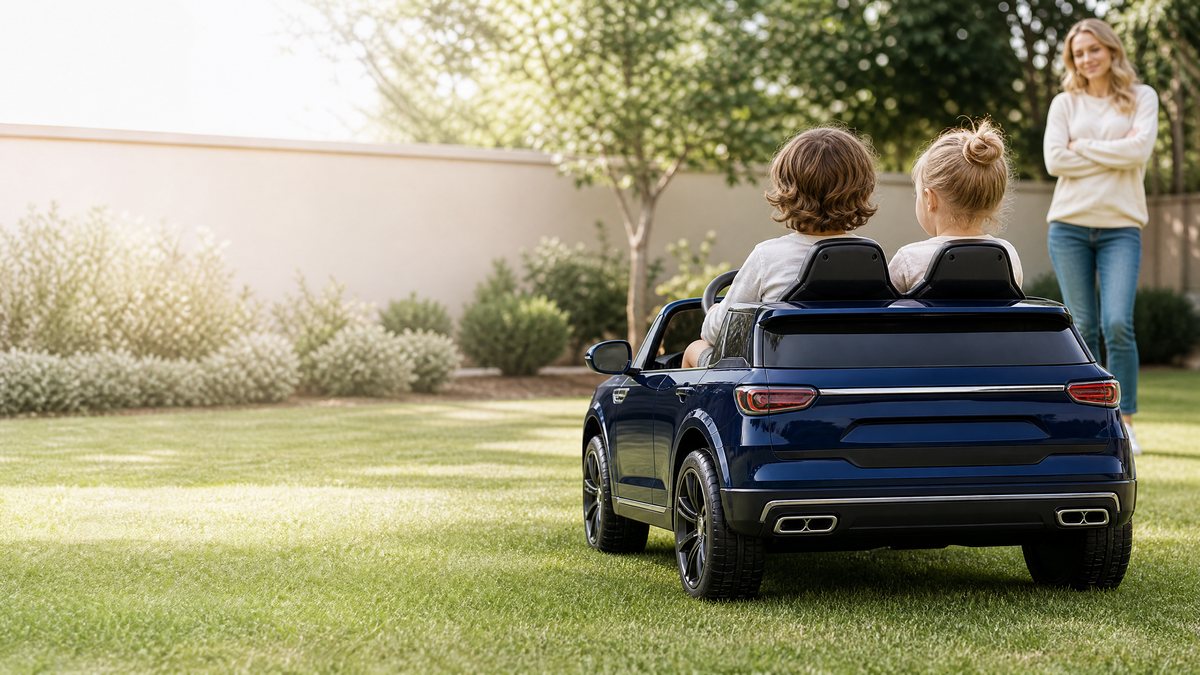
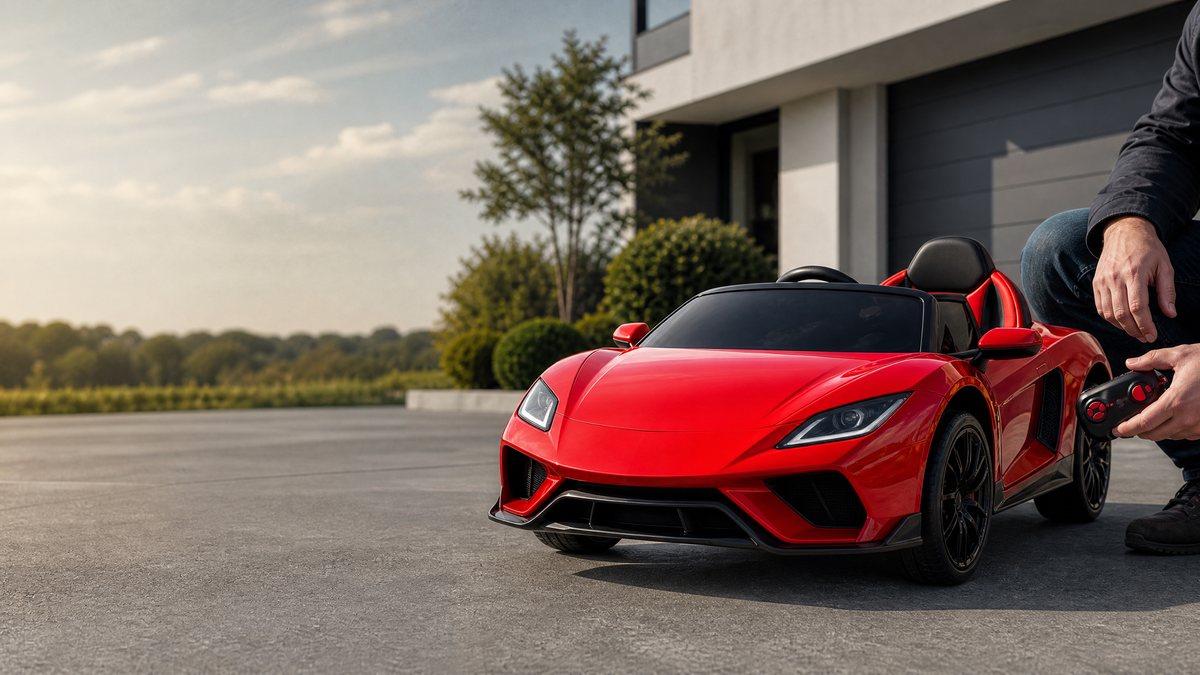
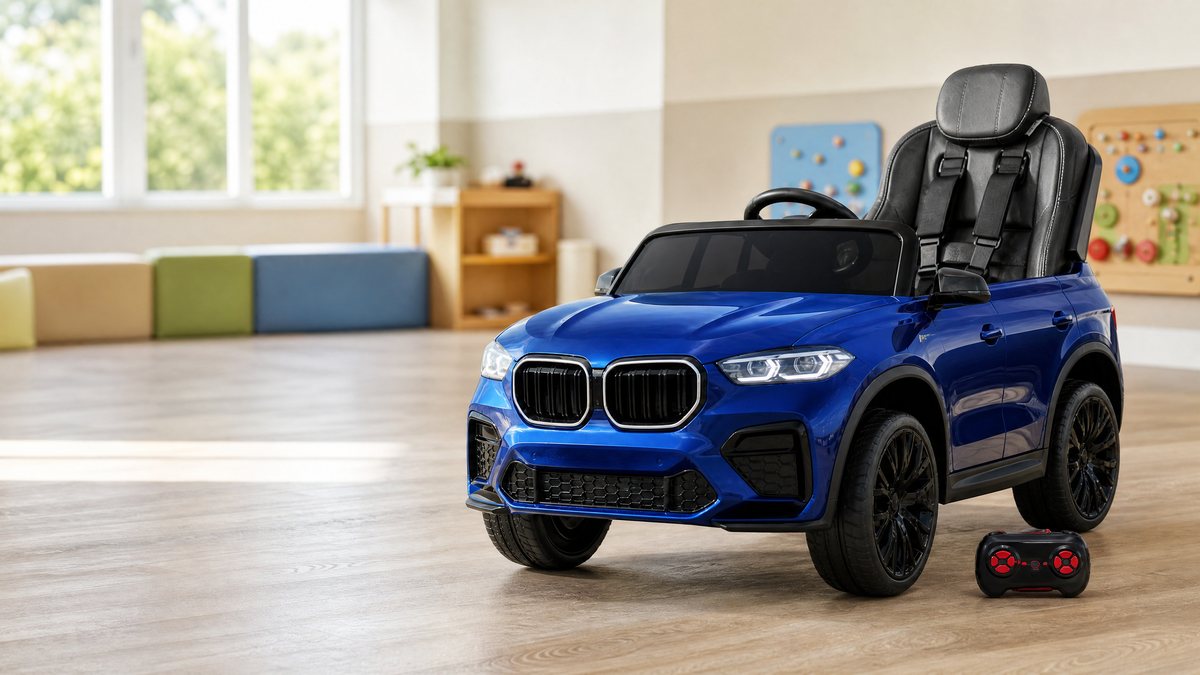
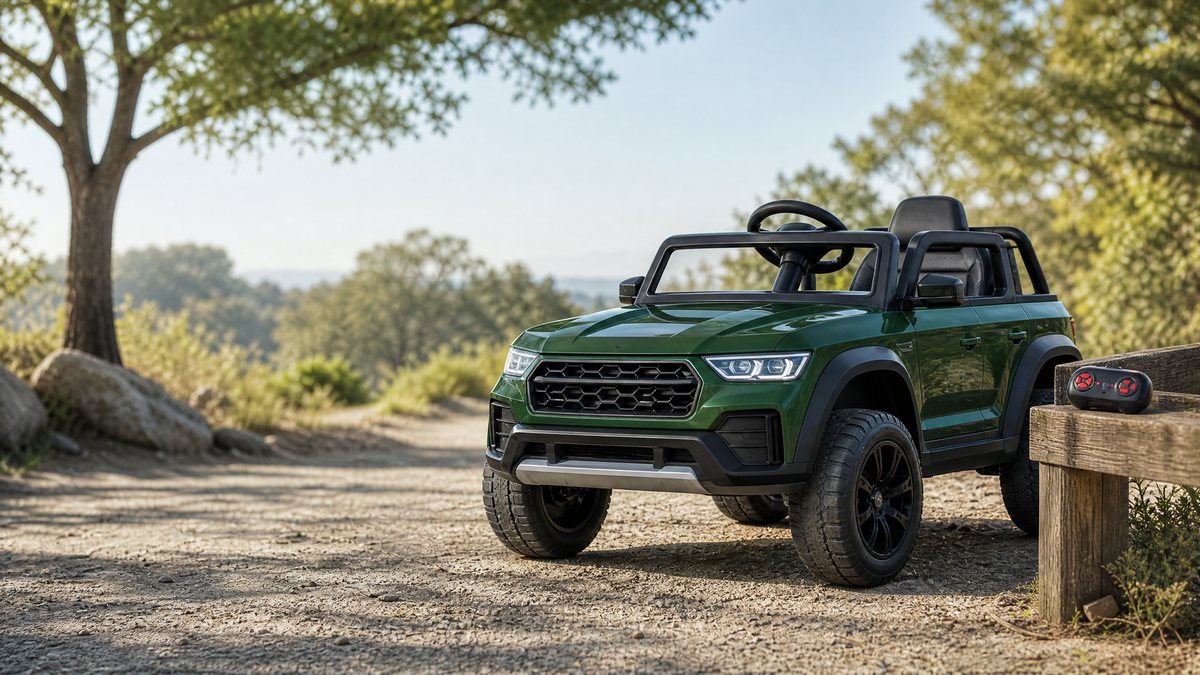
The unboxing and assembly of children's electric ride-on vehicles represent a crucial milestone for parents, caregivers, and retail distributors. Modern ride-on cars are sophisticated miniature electric vehicles equipped with 12V or 24V gearboxes, multi-channel parental remote controls, and LED lighting systems. Properly assembling these vehicles is a fundamental prerequisite for mechanical safety, structural longevity, and optimal operational performance.
When consumers or commercial technicians open a ride-on car package, they encounter a semi-knocked-down configuration. The chassis, wheels, drive motors, steering column, body shell, and electrical harnesses are packed independently to prevent transit damage. Navigating this assembly process requires patience, adherence to manufacturer instructions, and an understanding of basic mechanical principles. This comprehensive guide provides a meticulous, step-by-step framework for assembling, wiring, testing, and maintaining children's electric ride-on cars, ensuring that every unit meets high standards of safety and functionality.
Pre-Assembly Preparation and Tool Checklist
Before opening hardware bags or mounting structural components, establishing an organized workspace is essential. Assembly errors often stem from misplaced hardware or inadequate lighting.
Recommended Workspace Setup
Select a clean, flat, well-lit indoor surface—such as a garage floor or workshop table—covered with a protective mat to prevent scratching plastic body panels. Keep small hardware items such as locking pins, washers, and self-tapping screws in partitioned trays.
Essential Tool Inventory
While most ride-on car kits include basic stamped metal wrenches or simple screwdrivers, relying exclusively on factory tools can lead to under-tightened fasteners. It is recommended to prepare the following professional-grade tools:
- Phillips-head screwdriver (PH1 and PH2): For securing body panels, dashboard modules, and battery retention brackets.
- Adjustable wrench or socket set: For securing nylon-lock nuts on wheel axles and steering linkage joints.
- Needle-nose pliers: Essential for bending cotter pins, gripping wires, and positioning washers in tight chassis recesses.
- Rubber mallet: Useful for gently seating wheel hubs and snap-fit decorative trims without cracking plastic components.
- Multimeter: Valuable for verifying battery voltage and continuity across wiring harnesses prior to final panel closure.
Component Inventory Verification
Unpack all components systematically and cross-reference them against the manufacturer's parts manifest. Verify the presence of the main chassis, front and rear axle rods, drive motors, steering column, wheels, seat assembly, windshield, steering wheel, battery pack, AC charger, and parental remote control. Identifying a missing or transit-damaged component before commencing assembly prevents frustrating mid-process halts.
Step-by-Step Mechanical Assembly
The mechanical architecture of a standard electric ride-on car follows a standardized sequence. Following this precise sequence ensures that load-bearing elements, steering linkages, and drive systems align correctly.
Step 1: Rear Axle and Drive Motors Installation
The rear axle assembly serves as the primary propulsion foundation. Most dual-motor ride-on cars integrate electric DC motors directly inside sealed rear gearboxes.
1. Slide the rear metal drive shaft or axle rod through designated chassis channels and rear gearbox housings.
2. Align drive gearboxes with rear wheel hubs, ensuring motor wire leads are directed upward toward the central battery compartment and away from rotating shafts.
3. Slide metal washers and retaining clips onto outer ends of the axle as specified in the manual. Secure them firmly with locking pins or nuts, ensuring minimal lateral play while allowing smooth rotational freedom.
Step 2: Wheel Mounting and Secure Retainers
Wheels on ride-on vehicles bear the entire weight of the vehicle and occupant, making secure installation paramount.
1. Slide rear drive wheels onto axle ends, engaging wheel gear teeth securely with gearbox output gear.
2. Slide front wheels onto front steering spindle shafts, interspersing flat washers on both inner and outer sides of the wheel hub to reduce friction.
3. Secure each wheel using provided washers and locking nuts or cotter pins. If using cotter pins, insert them through the axle hole and use needle-nose pliers to spread tails outward by at least 45 degrees, ensuring they cannot vibrate loose during operation. Snap outer hubcaps into place with firm pressure.
Step 3: Steering Column and Front Axle Integration
The steering system dictates directional stability and maneuverability, particularly when controlled remotely.
1. Feed the steering column rod down through the front chassis aperture, guiding it through the dashboard housing until the lower end connects with the front steering linkage bar (tie rod).
2. Secure the steering column to the tie-rod assembly using the designated bolt and nylon-lock nut. Tighten securely, verifying that the steering mechanism articulates smoothly from lock to lock without binding.
3. Snap or bolt the steering wheel onto the upper steering column shaft, ensuring internal horn or sound wiring routed through the steering column is properly connected before final fastening.
Step 4: Seat, Body Panels, and Windshield Fitting
With drivetrain and steering established, aesthetic and protective body elements are integrated.
1. Attach side mirrors, decorative front grilles, and the windshield by aligning plastic tabs with chassis slots and securing them with short self-tapping screws.
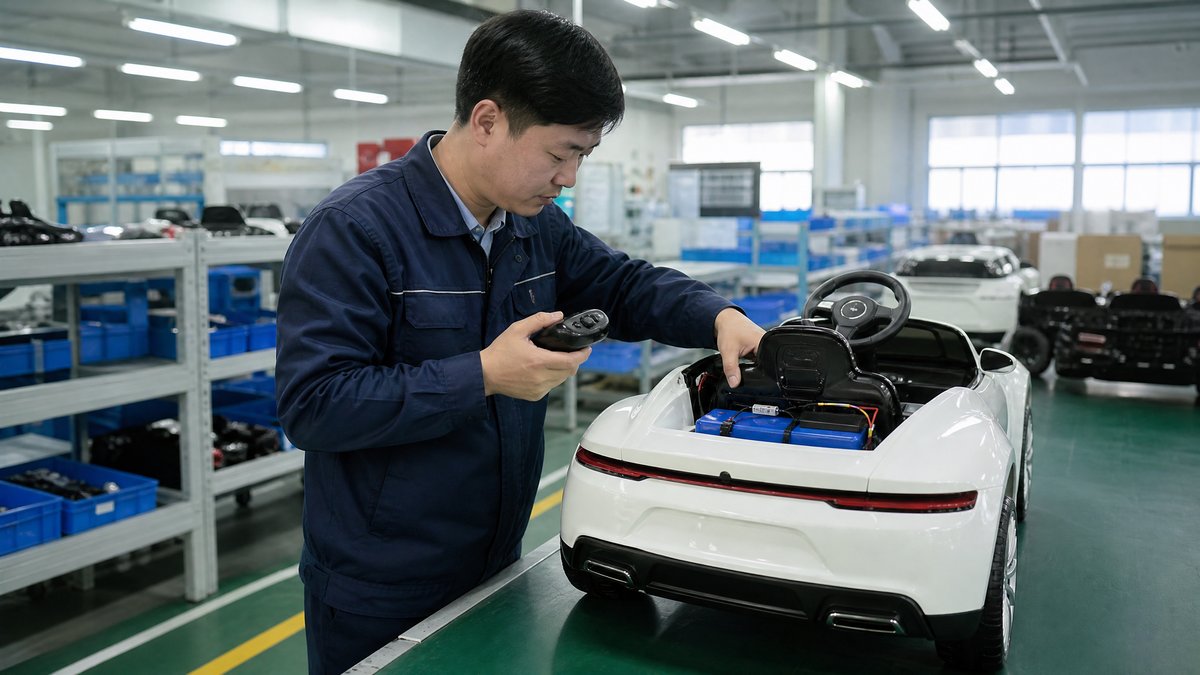
2. Install the battery pack within the central compartment (typically beneath the seat or hood) and secure retention brackets.
3. Position the molded plastic seat over battery and chassis mounting slots, sliding rear retaining tabs into place and securing the front with thumb screws or latches for easy future access during maintenance.
Electrical Wiring and Battery Connection
The electrical system powers propulsion, lighting, and entertainment modules. Ensuring robust connections and proper polarity is critical for electrical safety and component longevity.
Battery Placement and Terminal Connection
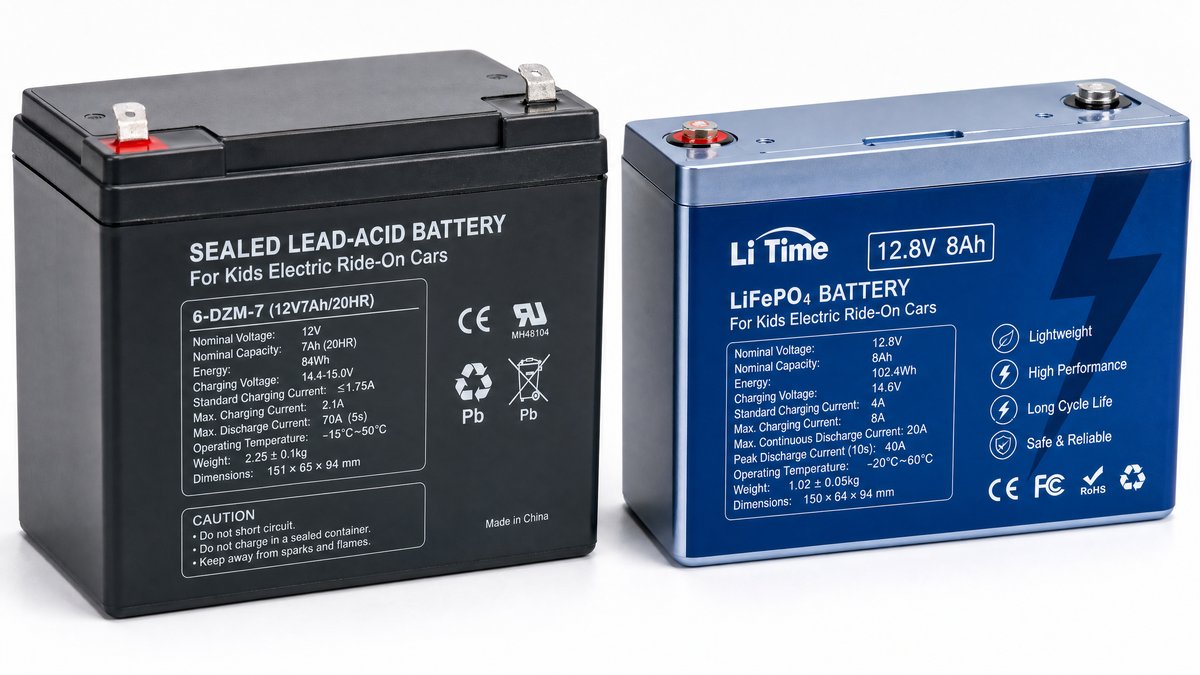
Ride-on cars typically utilize 12V lead-acid rechargeable batteries or upgraded lithium-ion packs.
1. Locate battery terminals inside the designated compartment. The positive terminal is conventionally marked with a red indicator or '+' symbol, while the negative terminal features a black indicator or '-' symbol.
2. Connect the red positive wire harness connector securely to the positive battery terminal, followed by the black negative wire harness connector to the negative terminal. Avoid sparking by ensuring the main power switch is in the 'OFF' position during connection.
3. Secure the battery hold-down strap or bracket tightly to prevent shifting during operation on uneven terrain.
Control Board and Remote Pairing
Modern ride-on vehicles feature a central electronic control unit (ECU) managing pedal input, high/low speed selection, and 2.4G Bluetooth parental remote override.
1. Verify that all auxiliary wire harnesses—including motor leads, accelerator pedal switches, and dashboard audio modules—are firmly plugged into respective color-coded ECU ports.
2. To pair the 2.4G parental remote control, ensure the vehicle is powered off. Insert batteries into the remote transmitter, press and hold the frequency-binding button on the remote, and simultaneously turn on the vehicle power switch. Release the button once the LED indicator stops flashing and remains solid.
Component Evaluation and Configuration Decision Table
Selecting the appropriate configuration or assessing vehicle specifications depends on intended usage environments, child age brackets, and performance requirements. The following decision table outlines key technical tiers:
| Configuration Tier | Voltage / Motor Setup | Recommended Terrain | Target Age Group | Key Performance Characteristics |
|---|---|---|---|---|
| Entry Level | 6V Single Motor | Indoor smooth floors, low-pile carpet | 2–4 years | Gentle acceleration (1.5–2 mph), compact frame, basic directional control. |
| Standard Dual | 12V Dual Motor (35W×2) | Asphalt, smooth concrete, short grass | 3–6 years | Balanced power (3–5 mph), independent suspension, robust dual-speed gearing. |
| Advanced 4WD | 12V/24V Quad Motor | Uneven gravel, inclines, outdoor lawns | 4–8 years | High torque across all four wheels, enhanced climbing capability, extended battery capacity. |
| Deluxe Utility | 24V Heavy-Duty Gear | Mixed terrain, light slopes | 5–9 years | Maximum load capacity, pneumatic or EVA rubber tires, proportional throttle response. |
Practical Pre-Operation Safety Checklist
Before allowing a child to operate the assembled ride-on vehicle, technicians and supervisors must execute a rigorous pre-ride safety inspection. This checklist minimizes mechanical failure risks and ensures predictable handling.
- [ ] Mechanical Fastener Integrity: Verify that all wheel nuts, axle pins, steering linkage bolts, and seat screws are torqued correctly and free from excessive play.
- [ ] Braking and Throttle Response: Test the automatic spring-return accelerator pedal. Releasing the pedal must instantly cut motor power and engage dynamic braking.
- [ ] Parental Remote Override: Confirm that the 2.4G remote control emergency stop button and directional overrides successfully command the vehicle regardless of pedal input.
- [ ] Battery Charge Verification: Ensure the battery has undergone an initial full charge cycle (typically 8–12 hours) and reads optimal voltage on a multimeter.
- [ ] Harness and Wire Clearance: Inspect the underside of the chassis to ensure motor wires and battery cables are secured away from moving wheels and sharp edges.
- [ ] Clear Operating Environment: Confirm that the testing area is entirely free from traffic, swimming pools, steep slopes, stairs, and sharp obstacles.
Frequently Asked Questions (FAQ)
1. What should I do if the vehicle powers on, but the wheels refuse to turn?
First, check main wiring harness connections leading from the foot pedal switch and central electronic control unit to rear motor gearboxes. Ensure all multi-pin connectors are fully seated and no wires have been pinched. If wiring is intact, use a multimeter to verify that voltage reaches motor terminals when the accelerator pedal is depressed.
2. How long should the initial battery charge take, and how can I maximize battery lifespan?
The initial charge for a standard 12V lead-acid battery should last between 8 to 12 hours. Never exceed 15 hours of continuous charging. To maximize lifespan, recharge the battery immediately after each use, avoid allowing depletion to 0%, and store the vehicle in a dry indoor environment during extended non-use.
3. Can the ride-on car be operated in wet weather or on damp grass?
Children's electric ride-on cars are designed with splash-resistant electronics, but they are strictly not waterproof. Operating the vehicle in heavy rain, deep puddles, or saturated mud risks water ingress into the electronic control unit, switches, and motor windings, leading to electrical short circuits. Always operate on dry, stable surfaces.
4. Is parental supervision required even if the car has a 2.4G remote control?
Yes. While the 2.4G Bluetooth remote control allows parents to override steering and braking instantly, it does not replace active adult supervision. Environmental hazards, sudden mechanical obstructions, or unexpected pedestrian movement require constant vigilance by supervising adults.
Conclusion and Final Safety Recommendations
Assembling a children's electric ride-on car is a rewarding endeavor bridging mechanical setup with joyful play. By meticulously following structured assembly procedures, verifying fastener torques, ensuring robust electrical connections, and adhering to strict pre-operation safety checks, operators guarantee a safe and reliable experience.
Safety remains paramount across all phases of ownership. Always consult manufacturer instructions for model-unique nuances, supervise children during active operation, and perform routine monthly maintenance inspections on wheels, brakes, and electrical terminals.
Wholesale and B2B Procurement Collaboration
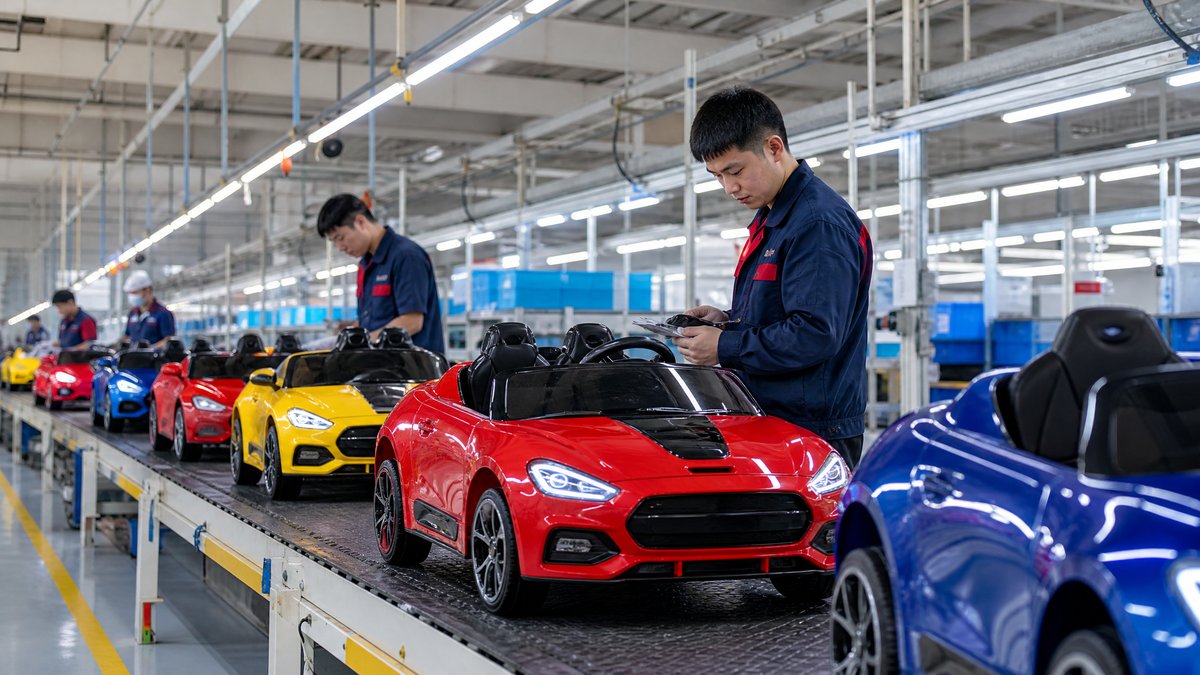
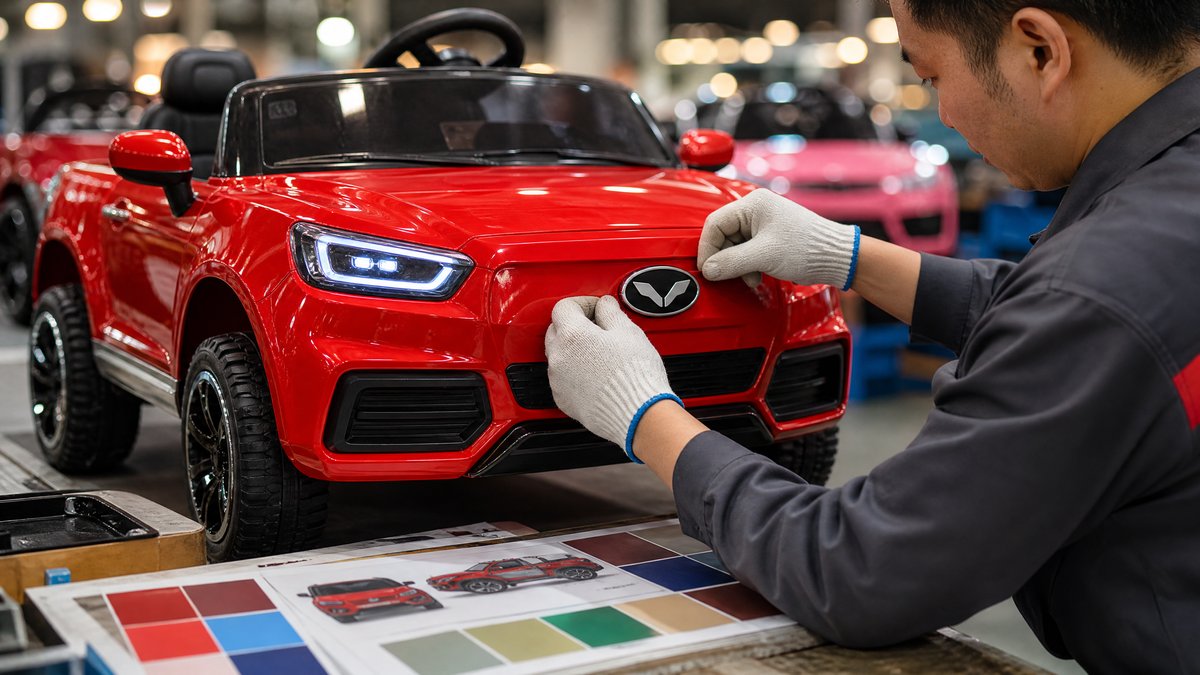
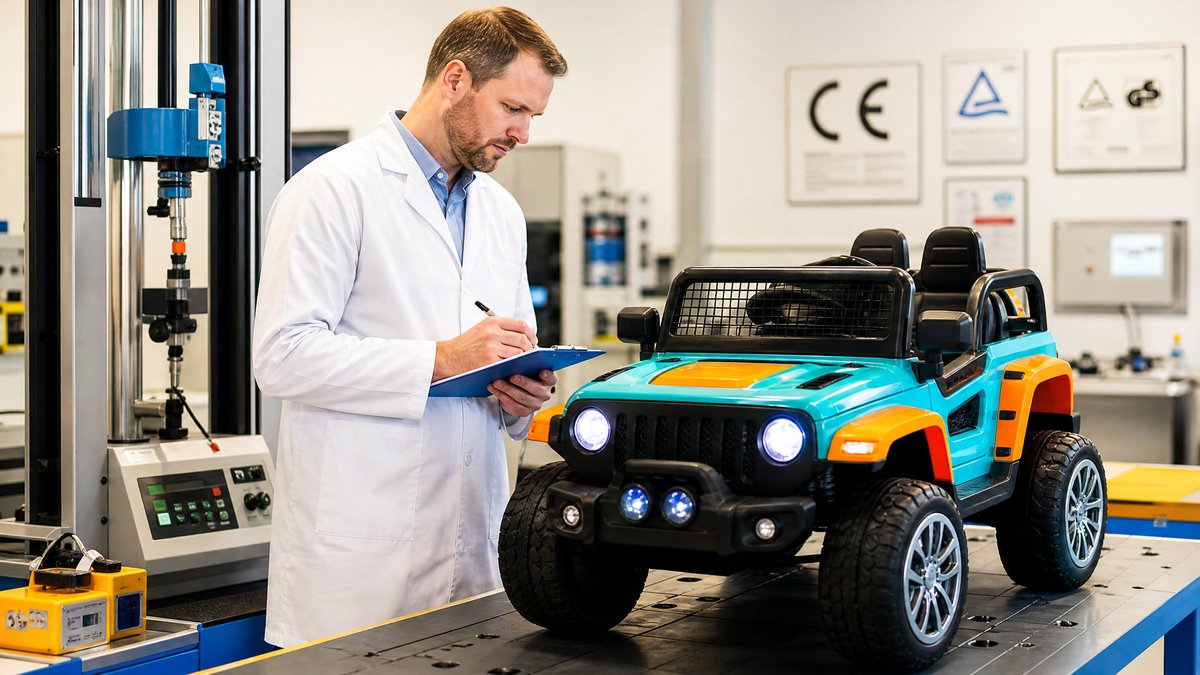
For toy distributors and retail chains seeking certified children's electric ride-on vehicles, establishing a reliable manufacturing partnership is essential for market success. Our production facilities specialize in OEM and ODM manufacturing of advanced 12V and 24V ride-on cars, incorporating rigorous quality control standards, international safety certifications (CE, EN71, ASTM F963), and customizable branding options.
We invite global importers and wholesale partners to connect with our commercial engineering team to discuss bulk procurement catalogs, custom packaging solutions, and exclusive regional distribution agreements. Partner with us to deliver exceptional safety and durability to the global market.
Official references
Explore these external resources for current regulatory and trade guidance. Confirm requirements with the relevant authority before placing an order.
Ready to Start?
Factory-Direct · CE & ASTM Certified · MOQ from 50 Units
Our export team works with buyers in 60+ countries. Get a quote within 24 hours.
KR
Written by KidsRideCar
China's leading kids electric ride-on car manufacturer. 500,000+ units shipped annually to 60+ countries. CE, ASTM & EN71 certified.