Introduction
Maintaining and servicing children's electric ride-on vehicles requires meticulous attention to detail, adherence to manufacturer specifications, and unwavering commitment to safety. Over time, rechargeable sealed lead-acid (SLA) or lithium-ion batteries in ride-on cars degrade due to charge cycles, environmental temperature fluctuations, and extended periods of storage. When a ride-on car fails to hold a charge, exhibits sluggish performance, or refuses to power on, replacing the battery is typically the most efficient and cost-effective solution.
However, battery replacement is not merely a plug-and-play task. It involves electrical considerations, terminal configurations, voltage matching, and strict safety protocols. This comprehensive guide provides parents, fleet operators, and maintenance technicians with a professional framework for safely diagnosing, selecting, and replacing ride-on car batteries while emphasizing strict adherence to manufacturer instructions and adult supervision.
Understanding Ride-On Car Battery Systems
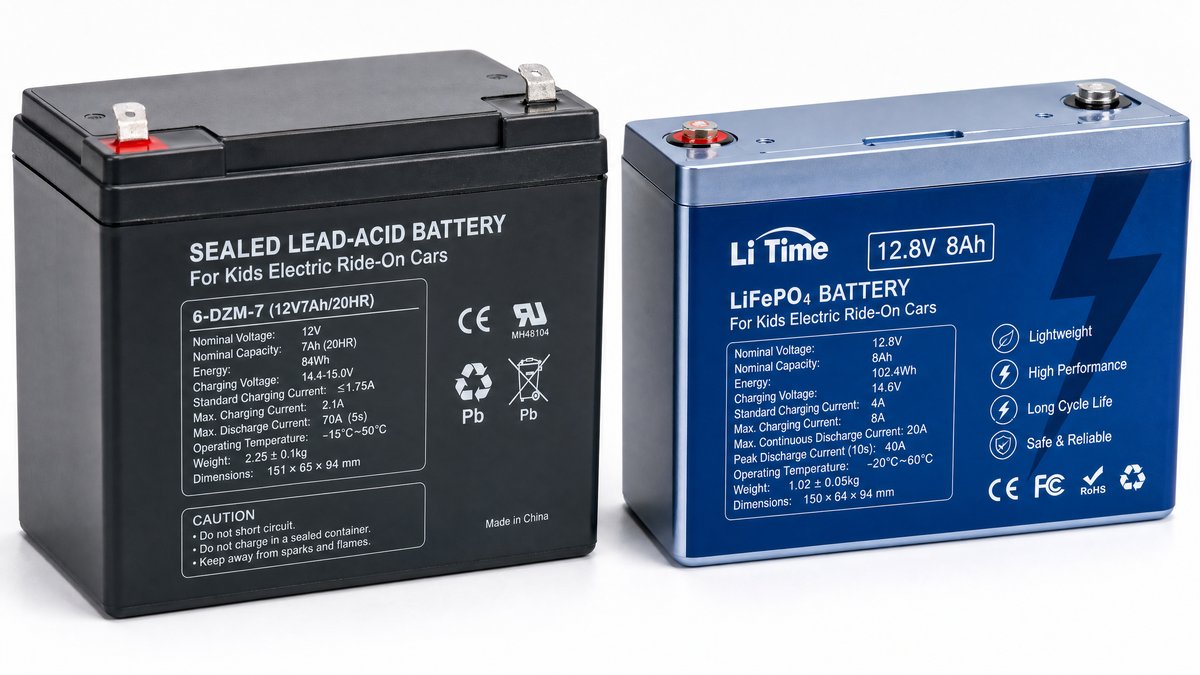
Before initiating any replacement procedure, it is essential to understand the electrical architecture of modern children's electric vehicles. The vast majority of ride-on cars utilize Sealed Lead-Acid (SLA) absorbed glass mat (AGM) batteries, typically rated at 6 volts, 12 volts, or in high-performance models, 24 volts.
Voltage and Amperage Specifications
* Voltage (V): Must match the original equipment manufacturer (OEM) specification exactly. Installing a higher voltage battery (e.g., upgrading from 12V to 24V) without upgrading the motor controllers and wiring harness can cause severe electrical overload, thermal runaway, component failure, and fire hazards.
* Amp-Hours (Ah): Represent the capacity of the battery. While matching the exact Ah rating is ideal, a slightly higher Ah rating (within physical dimension constraints) may extend runtime, provided the charger matches the charging profile.
Common Signs of Battery Failure
* Vehicle runs for only a few minutes after a full charge.
* Charger indicates full charge immediately upon connection, yet the vehicle lacks power.
* The vehicle fails to move under load (when a child sits in it), even though wheels spin freely when elevated.
* Physical deformation, swelling, or cracking of the battery casing.
* Visible corrosion on the metal terminal connectors.
Diagnostic and Selection Decision Framework
Selecting the correct replacement battery requires evaluating physical dimensions, terminal types, and electrical ratings. The following decision matrix assists technicians and parents in identifying the optimal replacement unit.
| System Voltage | Common Amp-Hour (Ah) Range | Standard Terminal Type | Primary Safety & Installation Considerations |
|---|---|---|---|
| 6 Volt | 4.5 Ah – 7.0 Ah | F1 / T1 Quick Disconnect | Used in smaller toddler quads and entry-level cars. Verify polarity before connection. |
| 12 Volt | 7.0 Ah – 12.0 Ah | F2 / T2 or Nut-and-Bolt | Standard in most dual-motor cars. Ensure physical dimensions fit the battery compartment snugly. |
| 24 Volt | 10.0 Ah – 14.0 Ah (or dual 12V series) | Heavy-duty terminal connectors | High-performance drift carts and multi-rider UTVs. Verify wiring harness integrity and fuse rating. |
When sourcing replacements, always prioritize UL-certified or CE-compliant batteries from reputable manufacturers. Avoid unverified aftermarket cells that lack proper internal overcurrent protection and pressure relief valves.
Required Tools and Safety Preparation
Proper preparation minimizes electrical risks and ensures a seamless replacement process. Never rush battery maintenance, and always perform work in a well-ventilated, dry environment.
Essential Equipment Checklist
* Replacement Battery: Exact OEM match in voltage, dimensions, and terminal configuration.
* Insulated Hand Tools: Screwdrivers and pliers with insulated handles to prevent accidental short circuits.
* Digital Multimeter: For verifying open-circuit voltage and terminal polarity.
* Personal Protective Equipment (PPE): Safety glasses and insulating gloves, especially when inspecting older or corroded batteries.
* Wire Brush or Terminal Cleaner: To remove oxidation from metal contact points.
Pre-Installation Safety Protocols
1. Adult Supervision Mandatory: All battery handling, testing, and replacement must be performed strictly by responsible adults.
2. Power Off: Ensure the vehicle power switch is in the 'OFF' position and disconnect any external chargers.
3. Inspect for Damage: Check the new battery for any signs of transit damage, electrolyte leakage, or terminal defects before installation.
Step-by-Step Replacement Procedure
Executing a battery replacement requires methodical steps to ensure electrical continuity, secure mechanical mounting, and eliminate pinch points or loose connections.
Step 1: Accessing the Battery Compartment
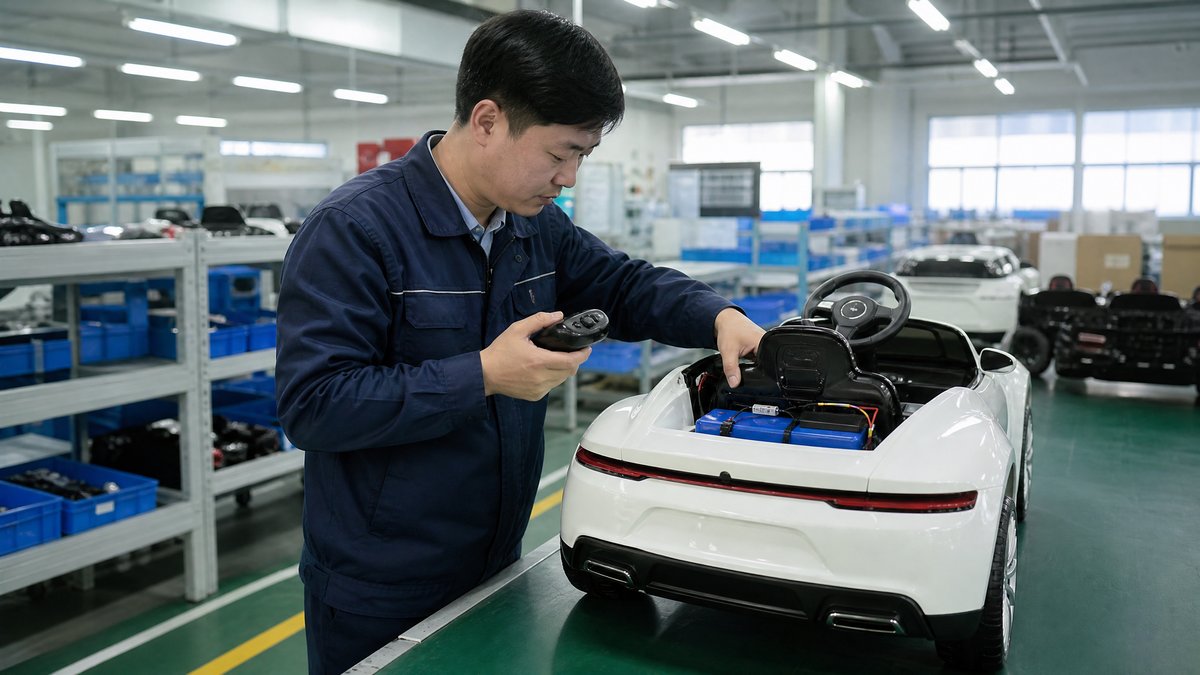
Most ride-on cars house the battery beneath the driver's seat, under the hood compartment, or occasionally beneath the rear floorboard. Using the appropriate screwdriver, remove the retaining screws securing the seat or access panel. Store screws in a secure container to prevent loss.
Step 2: Disconnecting the Old Battery
* Locate Terminals: Identify the positive (Red / +) and negative (Black / -) terminals.
* Disconnect Negative First: Always disconnect the negative (black) terminal first to minimize spark risk if the tool touches vehicle metalwork. Then disconnect the positive (red) terminal.
* Remove Retaining Brackets: Unscrew any physical hold-down straps or brackets securing the battery in its housing. Carefully lift the old battery out, keeping it level to prevent acid spillage if the casing is compromised.
Step 3: Inspecting Terminals and Wiring Harness
Examine the vehicle's internal wiring harness, fuse holder, and quick-disconnect terminals. If corrosion is present, clean the metal contacts thoroughly. Inspect the inline fuse; a blown fuse will prevent power delivery even with a brand-new battery installed.
Step 4: Installing the New Battery
* Place the new battery securely into the compartment, ensuring it rests flat and cannot shift during vehicle operation.
* Reinstall any physical hold-down brackets.
* Connect Positive First: Attach the positive (red) wire to the positive terminal securely.
* Connect Negative Second: Attach the negative (black) wire to the negative terminal. Ensure connections are tight and insulated boots (if equipped) cover the metal terminals.
Step 5: Testing and Functional Verification
Before re-securing seats and body panels, turn on the vehicle power switch and test all directional functions (forward, reverse, pedal throttle). Verify that headlights, sound modules, and remote-control pairing (if applicable) operate correctly. Once verified, replace all access panels and screws securely.
Practical Checklist for Safe Operation and Maintenance
To maximize battery lifespan and ensure ongoing safety, implement the following operational checklist:
* [ ] Initial Full Charge: Charge the new battery for a full 8 to 12 hours prior to the first operational use, adhering strictly to the manufacturer's provided smart charger specifications.
* [ ] Avoid Deep Discharge: Never allow the battery to drain completely to zero percent. Recharge the vehicle immediately after sluggish performance is observed.
* [ ] Off-Season Storage: If the ride-on car will not be used for several weeks or during winter storage, disconnect the battery terminals and store the battery in a cool, dry indoor environment between 50°F and 70°F (10°C to 21°C). Recharge every 60 days to prevent sulfation.
* [ ] Charger Compatibility: Use only the OEM-supplied charger or an officially certified replacement with identical voltage and amperage output. Using unauthorized fast chargers can cause overheating and battery rupture.
* [ ] Environmental Precautions: Never operate or store the vehicle in wet conditions, standing water, or extreme sub-zero temperatures without consulting manufacturer guidelines, as moisture can compromise electrical integrity.
Frequently Asked Questions (FAQ)
Can I upgrade my child's ride-on car from a 12V battery to a 24V battery for more speed?
No. Upgrading voltage without upgrading the entire electrical system—including motors, electronic speed controllers (ESC), and wiring harnesses—will cause extreme overheating, melted wiring, motor burnout, and potential fire hazards. Always adhere strictly to the manufacturer's rated voltage specifications.
How long should a replacement ride-on car battery last?
Under normal operating conditions and proper maintenance, a quality sealed lead-acid (SLA) battery lasts between 1 to 3 years. Lifespan depends heavily on charge frequency, storage conditions, and whether the battery is allowed to experience deep discharges.
What should I do if the new battery still does not power the vehicle?
First, check the inline fuse located near the battery harness; a blown fuse is the most common cause of no power after replacement. Next, verify that terminal connections are tight and correct in polarity. Finally, use a multimeter to check the battery's open-circuit voltage. If the issue persists, inspect the main power switch and foot pedal microswitch.
How should old ride-on car batteries be disposed of?
Sealed lead-acid batteries contain hazardous materials (lead and sulfuric acid) and must never be disposed of in household trash. Take old batteries to a local automotive parts retailer, municipal recycling center, or hazardous waste collection facility for proper recycling.
Conclusion
Replacing the battery in a children's electric ride-on car is a straightforward maintenance task when approached with technical precision, correct component selection, and strict adherence to safety protocols. By matching OEM voltage specifications, utilizing insulated tools, verifying wiring integrity, and maintaining proper charging habits, parents and technicians can ensure both optimal vehicle performance and maximum child safety. Always prioritize manufacturer guidelines and adult supervision during all maintenance and operational phases.
B2B Partnership and Wholesale Opportunities
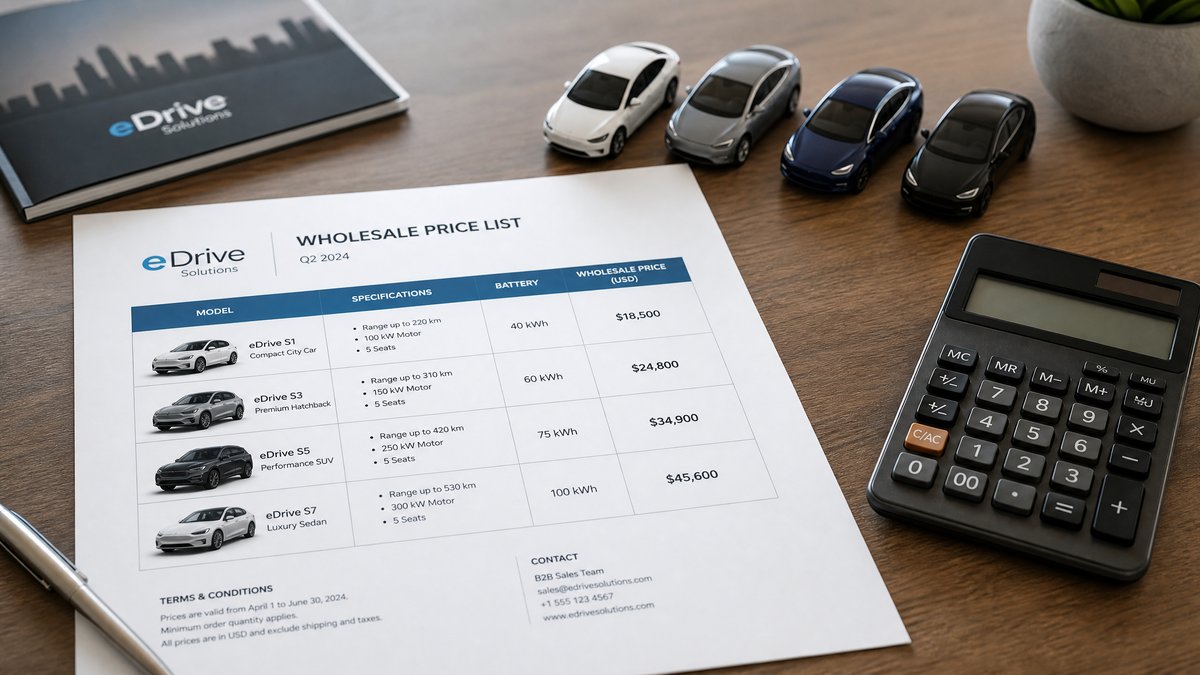
For commercial fleet operators, amusement park ride providers, specialty toy retailers, and distribution centers seeking reliable, high-volume replacement parts and certified power solutions, our engineering team offers comprehensive B2B supply partnerships. We provide wholesale industrial-grade SLA and lithium-iron-phosphate (LiFePO4) battery cells, custom wiring harnesses, OEM-compliant chargers, and dedicated technical support. Partner with us to streamline your supply chain, ensure regulatory compliance, and deliver exceptional product reliability to your customers. Contact our commercial sales department today to discuss custom volume pricing and global shipping solutions.
Official references
Explore these external resources for current regulatory and trade guidance. Confirm requirements with the relevant authority before placing an order.
Ready to Start?
Factory-Direct · CE & ASTM Certified · MOQ from 50 Units
Our export team works with buyers in 60+ countries. Get a quote within 24 hours.
KR
Written by KidsRideCar
China's leading kids electric ride-on car manufacturer. 500,000+ units shipped annually to 60+ countries. CE, ASTM & EN71 certified.