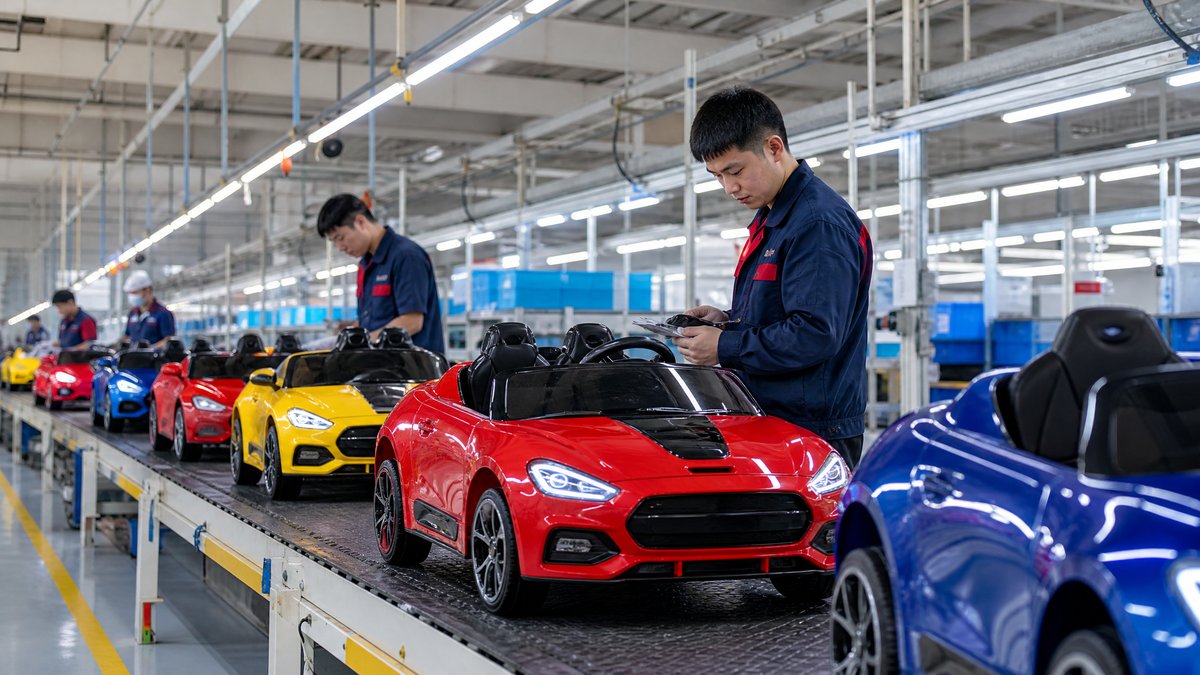
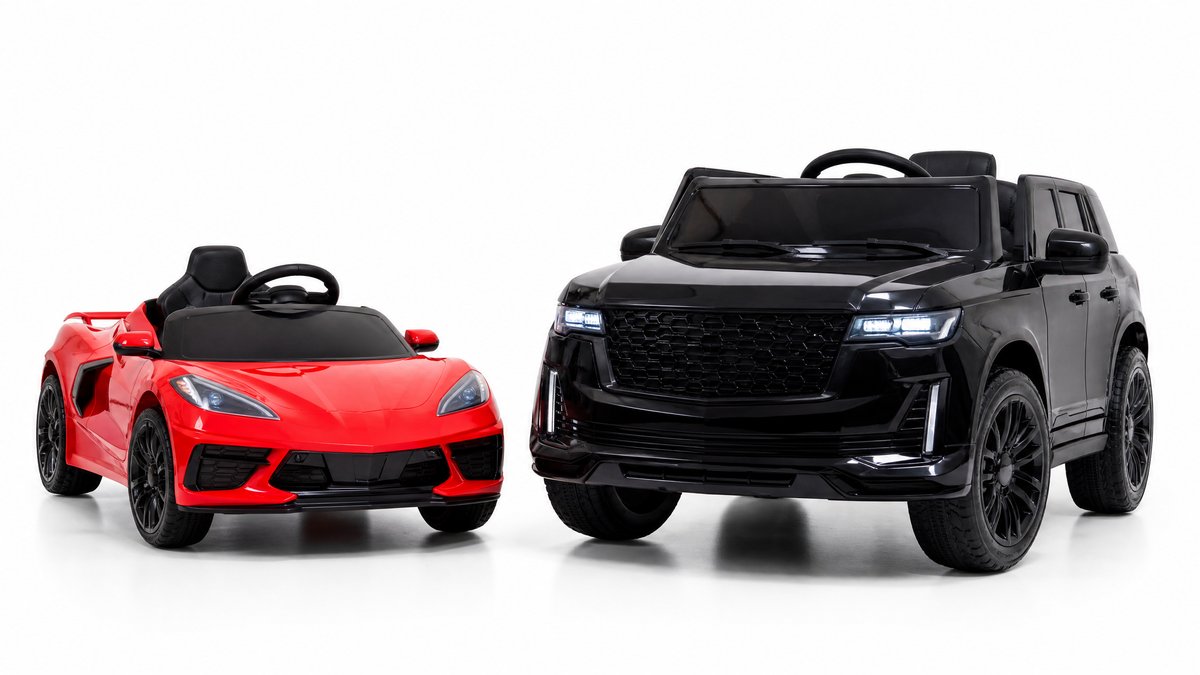
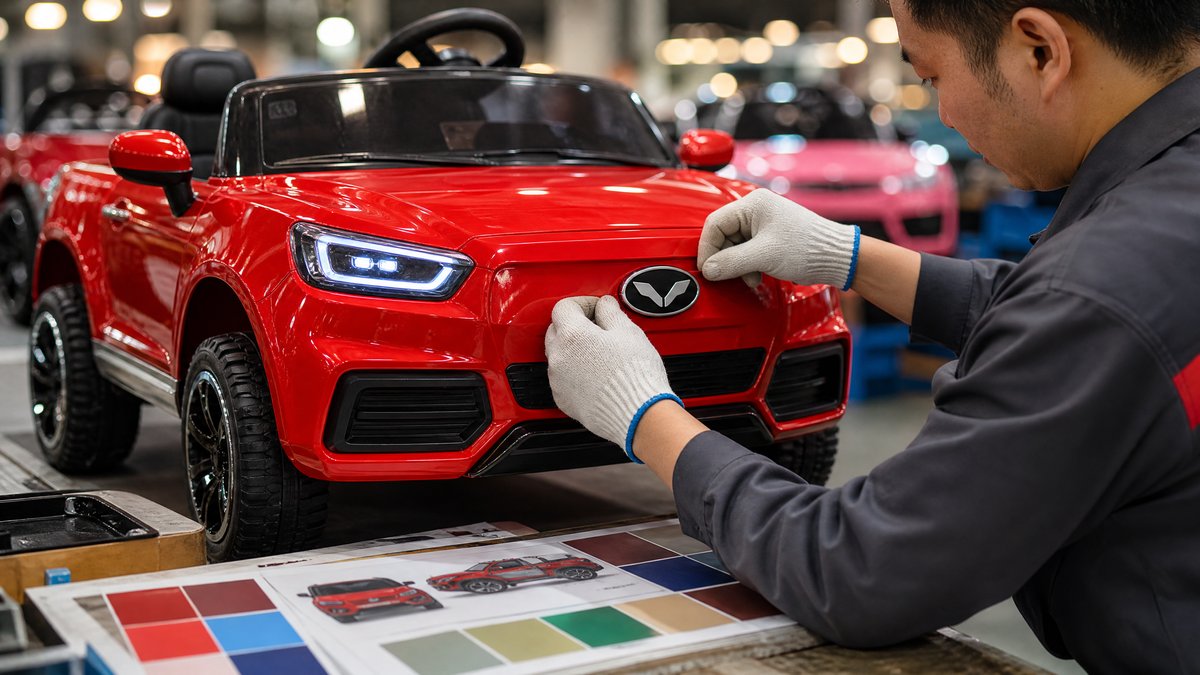
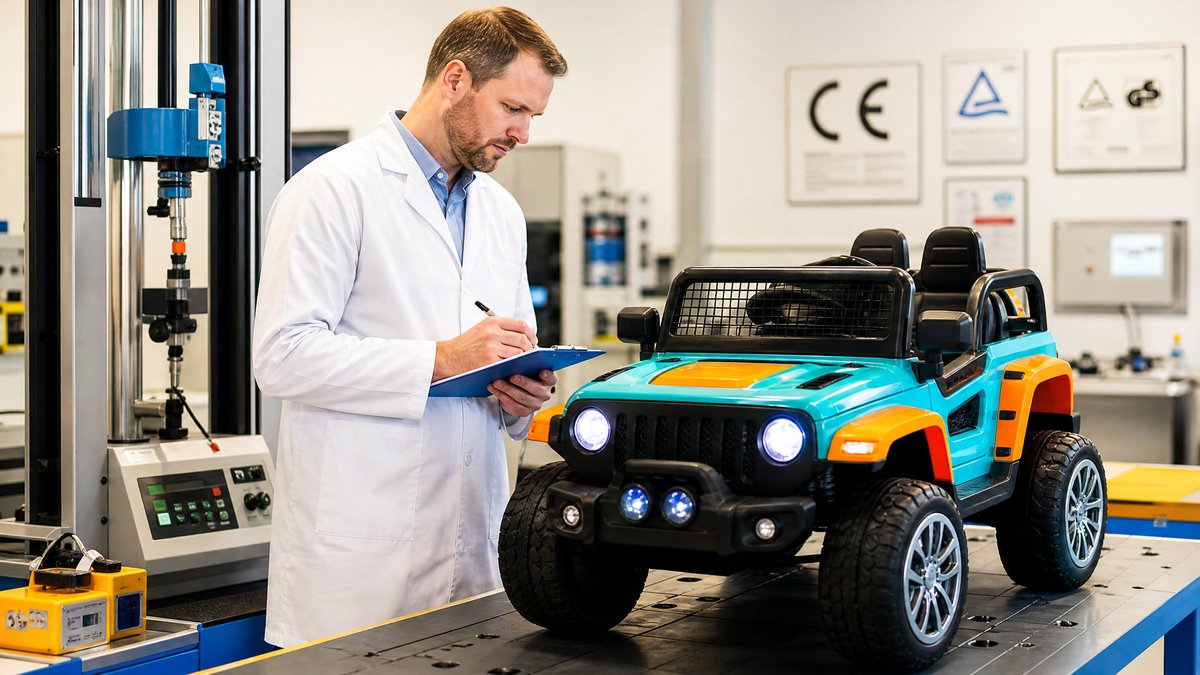
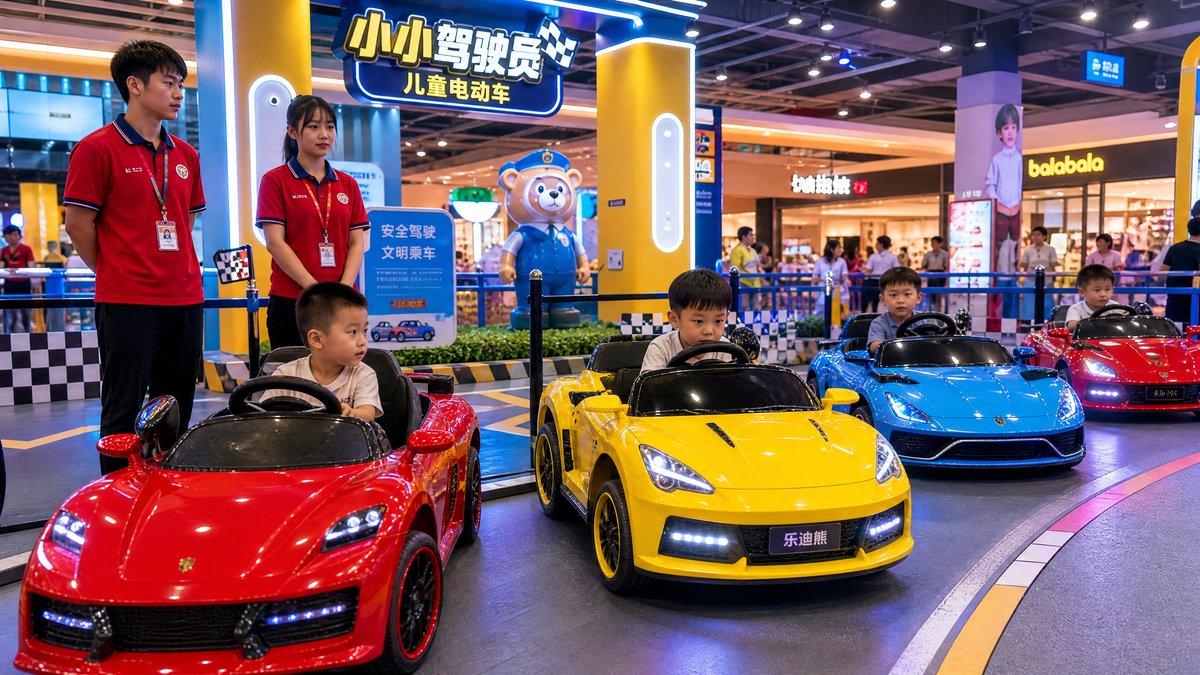
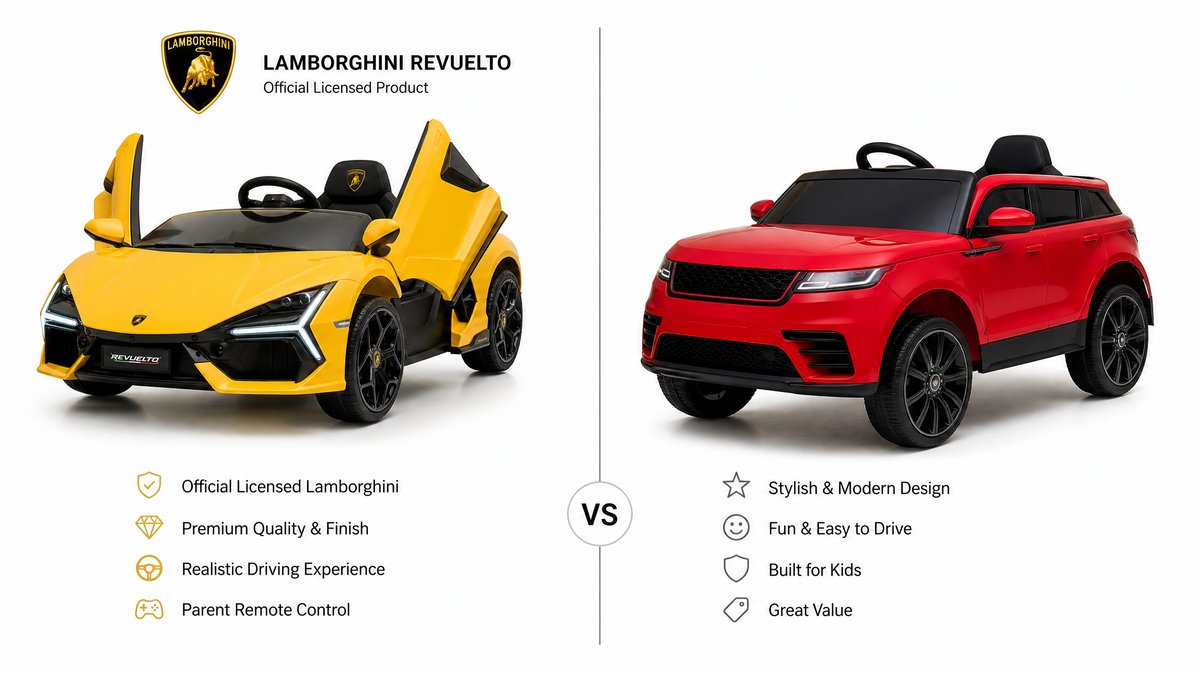
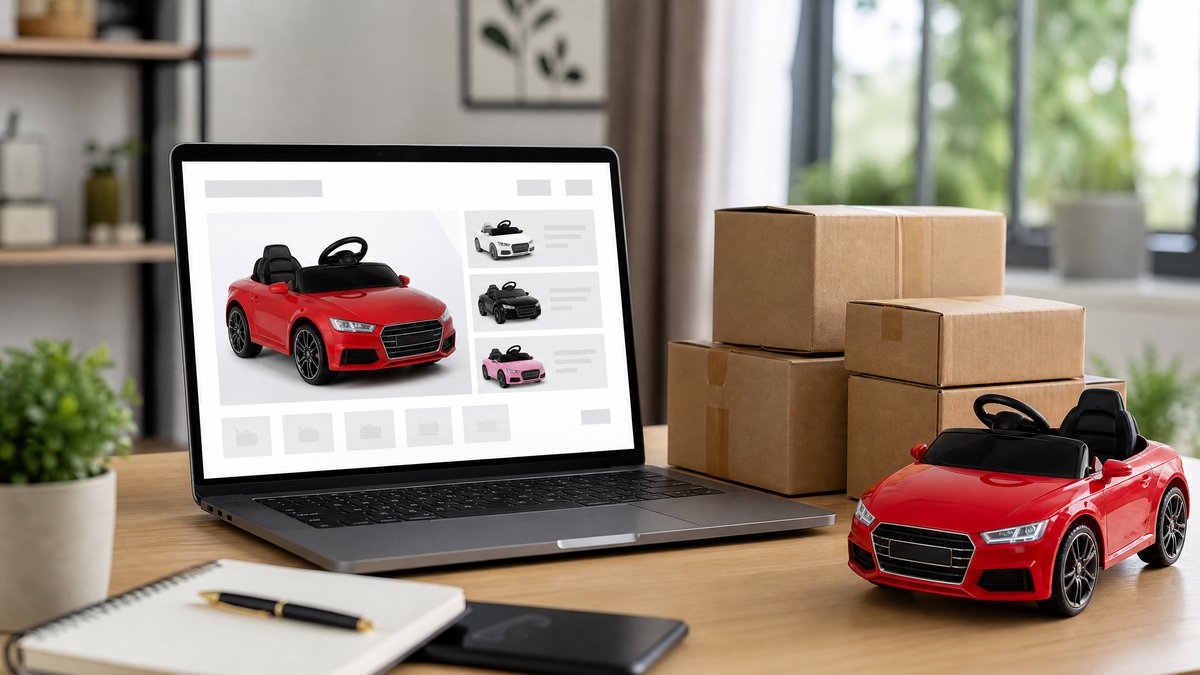
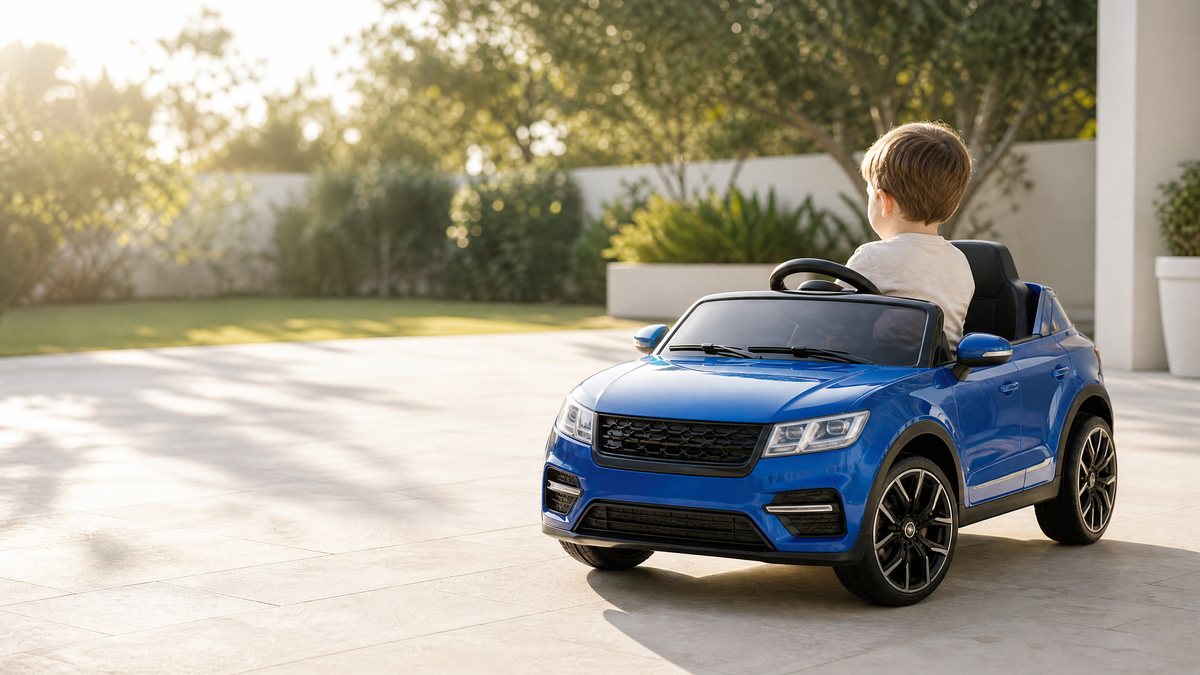
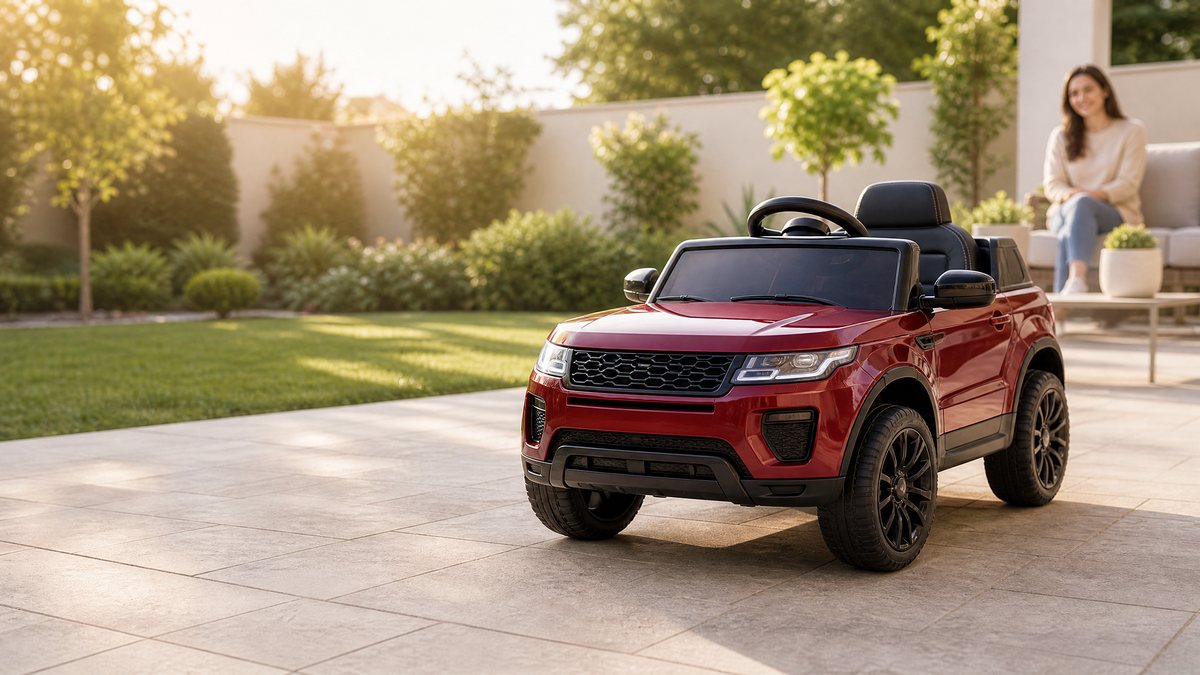
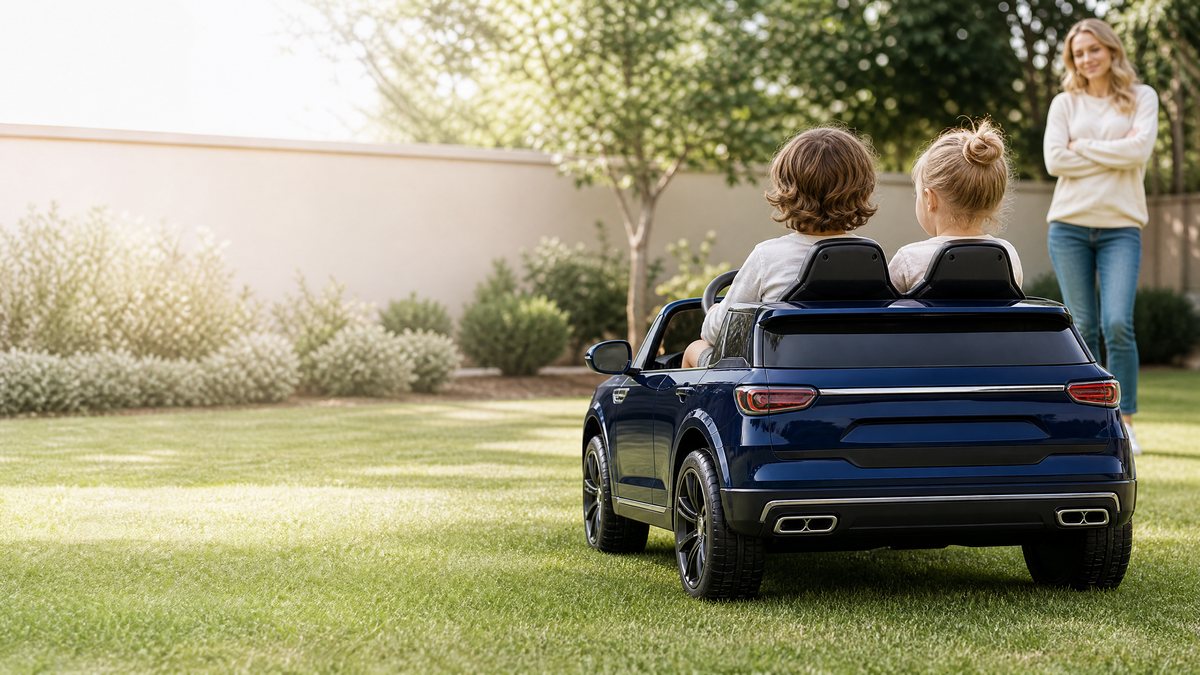
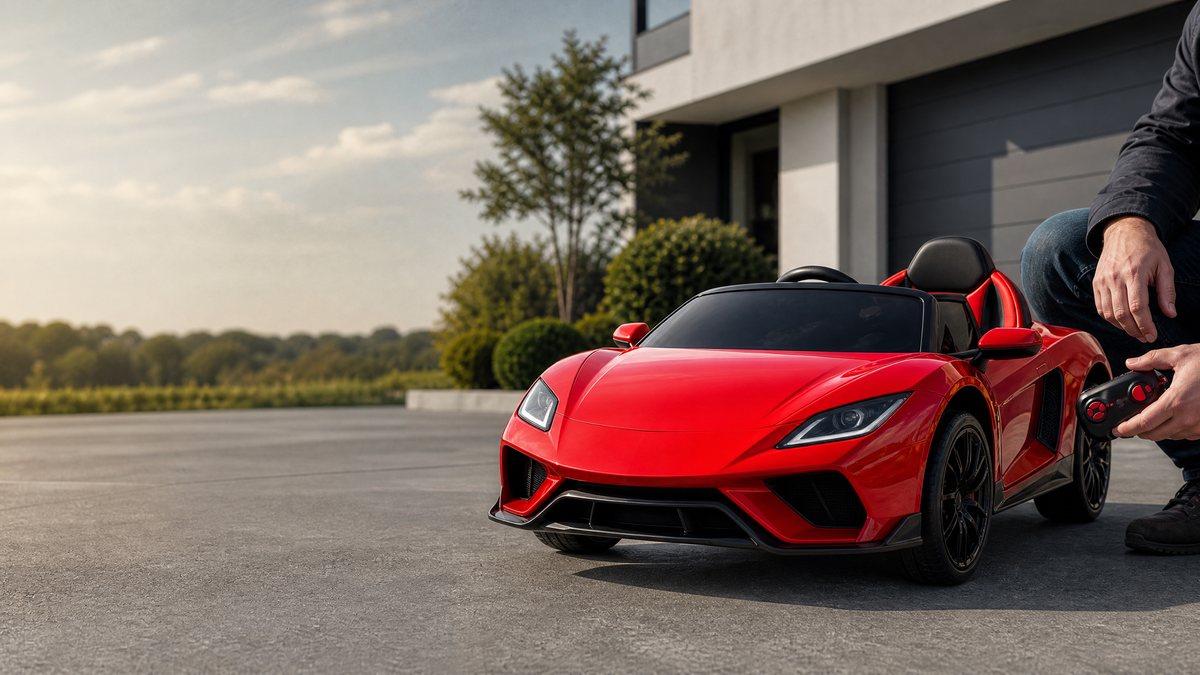
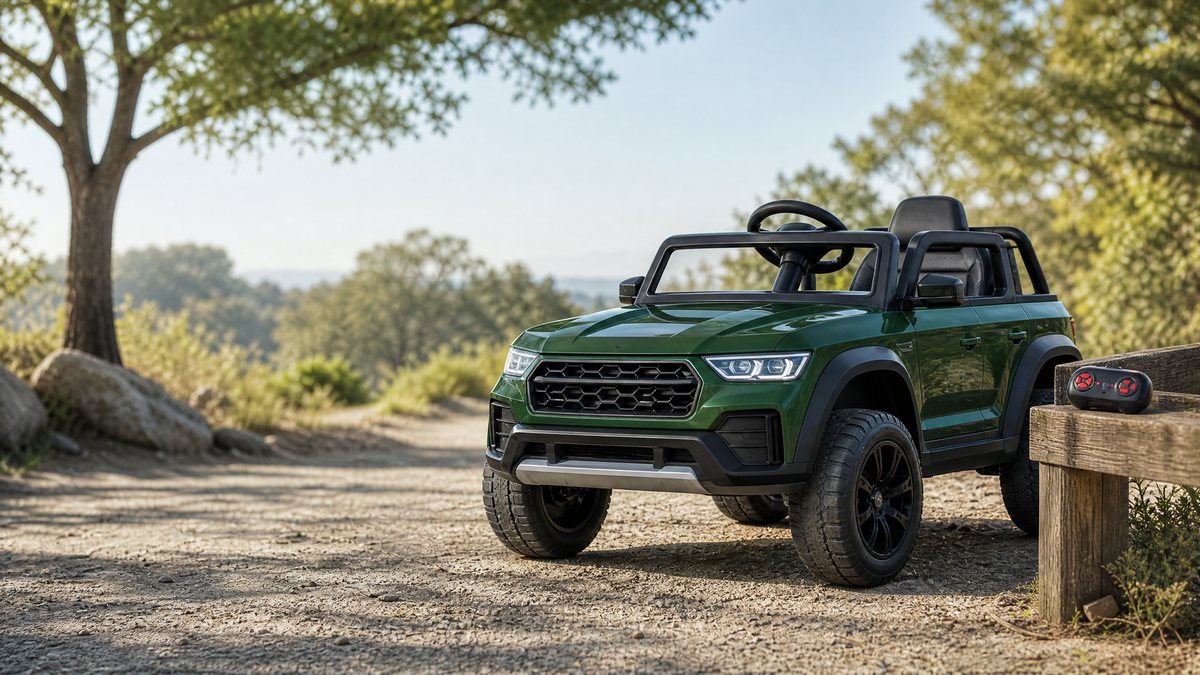
Receiving a new motorized ride-on vehicle is an exciting milestone, whether for residential use or commercial fleet deployment in family entertainment centers, rental parks, and retail showrooms. However, the initial unboxing phase represents a critical operational checkpoint. Ensuring that every structural component, electrical harness, hardware fastener, and accessory is present and undamaged dictates the safety, structural integrity, and long-term reliability of the vehicle.
This guide establishes a transparent evaluation framework and a rigorous inventory methodology for unboxing ride-on cars. Rather than assuming absolute uniformity across global manufacturing lines, this framework acknowledges that component inclusion, packaging layouts, and assembly requirements vary significantly depending on the specific model tier, manufacturer specifications, shipping logistics, and regulatory compliance standards. By adopting a methodical approach to unpacking and verification, operators and purchasers can mitigate assembly delays, identify transit discrepancies early, and ensure adherence to fundamental safety standards.
Modern children's ride-on vehicles are typically engineered for semi-knocked-down (SKD) or completely knocked-down (CKD) shipping to optimize logistical efficiency and prevent transit damage. Understanding the typical anatomical layout of a packaging carton is the first step toward an efficient unboxing process.
Typically, a standard packaging crate or heavy-duty corrugated box contains several distinct layers:
1. The Primary Chassis / Main Body Shell: Formed from durable polypropylene (PP) or injection-molded resin, serving as the foundational backbone that houses the steering linkage, seating supports, and drivetrain mounts.
2. Drivetrain and Motor Assemblies: Pre-wired DC electric motors housed within rear axle gearboxes, often accompanied by secondary steering gearboxes mounted near the front axle.
3. Wheel Sets and Traction Rings: Molded plastic wheels, frequently equipped with rubber traction strips or pneumatic-style EVA foam treads for enhanced grip.
4. Hardware and Accessory Kit: A sealed blister pack or compartmentalized bag containing steering wheels, windshields, rearview mirrors, seats, seat belts, decorative trim pieces, chargers, remote controllers, and structural fasteners (screws, washers, cotter pins, and retention clips).
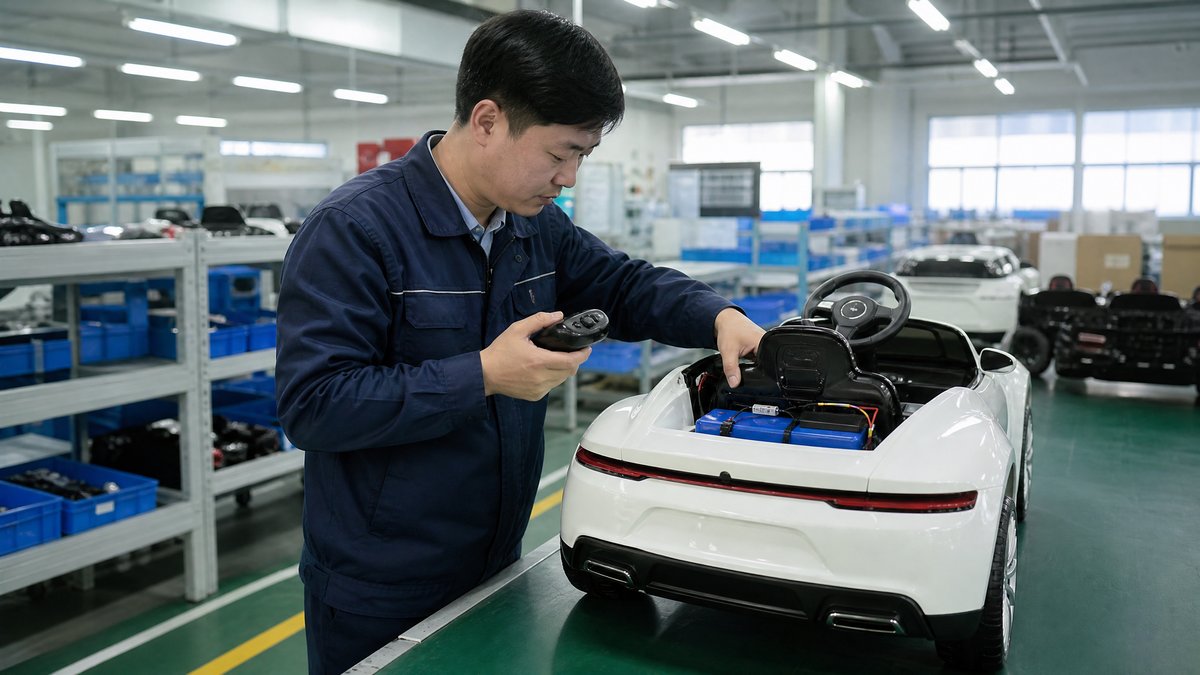
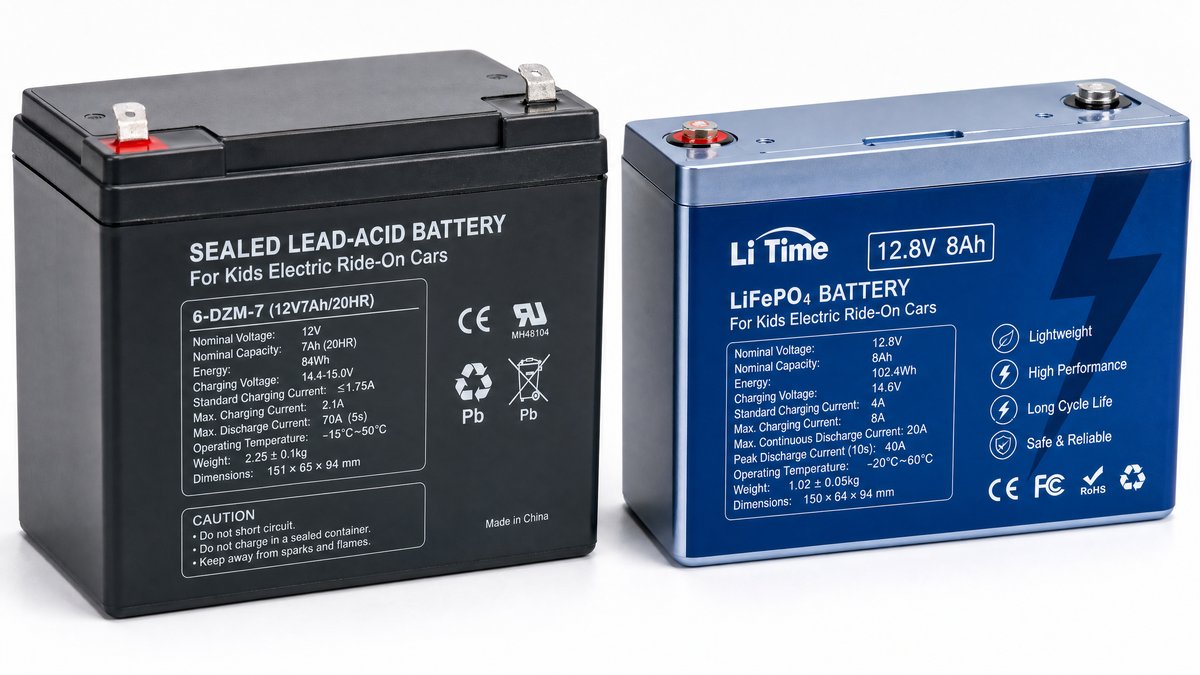
5. Electrical Power Source: Rechargeable lead-acid or lithium-ion battery packs, which may be pre-installed inside the chassis battery compartment or packed separately within protective cardboard inserts.
To evaluate whether all necessary parts are included and structurally sound, inspectors must implement a systematic verification protocol. The following decision matrix outlines the primary component categories, key inspection criteria, and recommended verification actions.
| Component Category | Primary Inspection Focus | Evaluation Criteria & Variability | Recommended Verification Action |
|---|---|---|---|
| Chassis & Body Panels | Structural integrity, surface finish, mounting tabs | Molds may exhibit minor surface blemishes; structural ribs must be free of stress fractures. | Inspect main shell under adequate lighting; verify alignment of body clips and screw bosses. |
| Electrical Harness & Motors | Terminal connectors, wiring insulation, gearbox housings | Motor voltage ratings (e.g., 12V, 24V) and connector types vary by manufacturer design. | Match wire harness plugs against control board ports; verify gearboxes rotate smoothly by hand. |
| Hardware & Fasteners | Screw counts, pin retention, tool inclusion | Fastener counts vary based on seat design, roll bar configuration, and door hinges. | Empty hardware bag onto a magnetic tray; sort by size and cross-reference with manual parts list. |
| Power Supply & Charger | Battery casing, terminal polarity, output voltage | Charger specifications must match battery voltage and regional electrical standards. | Inspect battery casing for leakage or swelling; test charger output with a multimeter if available. |
| Control & Steering Gear | Remote transmitter pairing, steering column linkage | 2.4G remote controllers require battery installation and synchronization with the receiver. | Test transmitter LED indicators; check mechanical play in steering rod and universal joints. |
Executing an orderly unboxing process prevents misplaced fasteners and ensures that every sub-assembly is accounted for before mechanical fastening begins. The following step-by-step checklist guides operators through the process:
1. Environmental Preparation and Workspace Clearance
* Select a well-lit, clean, flat indoor surface with adequate maneuvering space.
* Lay down protective padding or cardboard sheets to prevent scratching painted or gloss-finish body panels.
2. Carton Inspection and External Documentation Check
* Inspect the exterior packaging for crushing, puncture marks, or moisture damage before cutting sealing tape.
* Locate and retrieve the user manual, warranty card, and assembly instructions packet immediately upon opening the top flaps.
3. Layer-by-Layer Extraction
* Carefully lift out the top protective cardboard inserts, accessory boxes, and windshield panels.
* Extract secondary components such as seats, steering wheels, and mirrors, placing them on a designated staging table.
* Lift the main body shell out of the carton with assistance if the unit is heavy-duty or multi-motor configured.
4. Hardware Sorting and Inventory Reconciliation
* Open the hardware kit and empty contents onto a partitioned sorting tray.
* Compare physical fasteners against the itemized parts list in the user manual. Note that manufacturers occasionally include spare washers or retention clips.
5. Pre-Assembly Visual and Mechanical Inspection
* Verify that all electrical wires are securely connected to the central control module and switchgear.
* Inspect wheel assemblies for proper bearing seating and traction band alignment.
* Check that safety belts, latch mechanisms, and door locks operate smoothly without binding.
Ensuring that all parts are included is only the first step in preparing a ride-on vehicle for safe operation. Operators, parents, and commercial supervisors must adhere strictly to established safety guidelines:
* Manufacturer Instructions and Compliance: Always follow the specific assembly sequence, torque recommendations, and operational parameters provided in the manufacturer's official documentation. Generic assembly assumptions can lead to structural compromise.
* Adult Supervision and Monitoring: Ride-on vehicles require continuous adult supervision during operation. Children must never be left unattended, particularly near inclines, swimming pools, roadways, or uneven terrain.
* Surface Conditions and Traction: Operating performance on wet, icy, oily, or loose gravel surfaces differs markedly from dry pavement. Traction is significantly reduced on wet surfaces, increasing braking distances. Operators must restrict use to appropriate, stable terrains.
* Braking Systems and Momentum: Most ride-on cars utilize automatic electromagnetic braking (motor drag when the accelerator pedal is released) or foot-pedal braking. Users must be trained to understand stopping delays, especially on downward slopes.
* Seasonal and Environmental Precautions: Extreme cold temperatures can embrittle plastic body components and degrade battery capacity. Winter storage should occur in climate-controlled or sheltered environments.
* Charging Protocols and Battery Maintenance: Always use the exact manufacturer-supplied charger matching the battery chemistry and voltage. Never bypass safety fuses, overcharge beyond recommended durations, or attempt unauthorized battery modifications. When replacing batteries, use exact-match replacements and dispose of old units in accordance with local environmental regulations.
* Restraint Systems: Ensure that safety belts or harnesses are properly adjusted and securely fastened before every use to prevent accidental slips during acceleration or turns.
Q1: What should I do if the unboxing inventory reveals missing hardware or fasteners?
A: Immediately document the missing items using photographs of the unpacked components and the parts list in the manual. Contact the manufacturer or authorized supplier with the vehicle model number, batch code, and part reference numbers to request replacement components. Avoid improvising structural fasteners unless approved by the manufacturer.
Q2: Are batteries charged out of the box, or must they be charged prior to first use?
A: Most ride-on car batteries are shipped with a partial charge for storage longevity. However, manufacturers universally recommend performing an initial full charge—typically ranging from 8 to 12 hours—before operating the vehicle to ensure optimal battery lifespan and performance.
Q3: Can I substitute a higher-voltage battery or charger to increase vehicle speed?
A: No. Altering the electrical architecture by introducing higher-voltage batteries or unapproved chargers can overload the control board, overheat wiring harnesses, burn out electric motors, and create severe fire or electrical hazards. Always adhere strictly to factory specifications.
Q4: Why do some body panels exhibit minor scuffs or molding marks straight out of the box?
A: Injection-molded plastic components frequently exhibit minor parting lines, subtle flow marks, or slight surface scuffs resulting from the demolding and factory nesting process. These cosmetic characteristics do not impair structural integrity or mechanical function.
Verifying component completeness during the unboxing phase is an indispensable practice that safeguards structural integrity, ensures mechanical reliability, and establishes a secure operational foundation for children's ride-on vehicles. By employing a systematic inventory framework, adhering strictly to manufacturer guidelines, and maintaining rigorous safety standards regarding charging, braking, and supervision, operators can maximize the service life and safety of every vehicle.
For commercial operators, retail enterprises, and fleet distributors seeking high-quality, rigorously inspected ride-on vehicles with comprehensive parts support and robust documentation, partnering with an established manufacturer is essential. Contact our commercial sales and engineering team today to explore our complete catalog of certified ride-on vehicles, wholesale spare parts inventory, and customized B2B partnership programs designed to scale your business operations safely and efficiently.
Official references
Explore these external resources for current regulatory and trade guidance. Confirm requirements with the relevant authority before placing an order.
Ready to Start?
Factory-Direct · CE & ASTM Certified · MOQ from 50 Units
Our export team works with buyers in 60+ countries. Get a quote within 24 hours.
KR
Written by KidsRideCar
China's leading kids electric ride-on car manufacturer. 500,000+ units shipped annually to 60+ countries. CE, ASTM & EN71 certified.