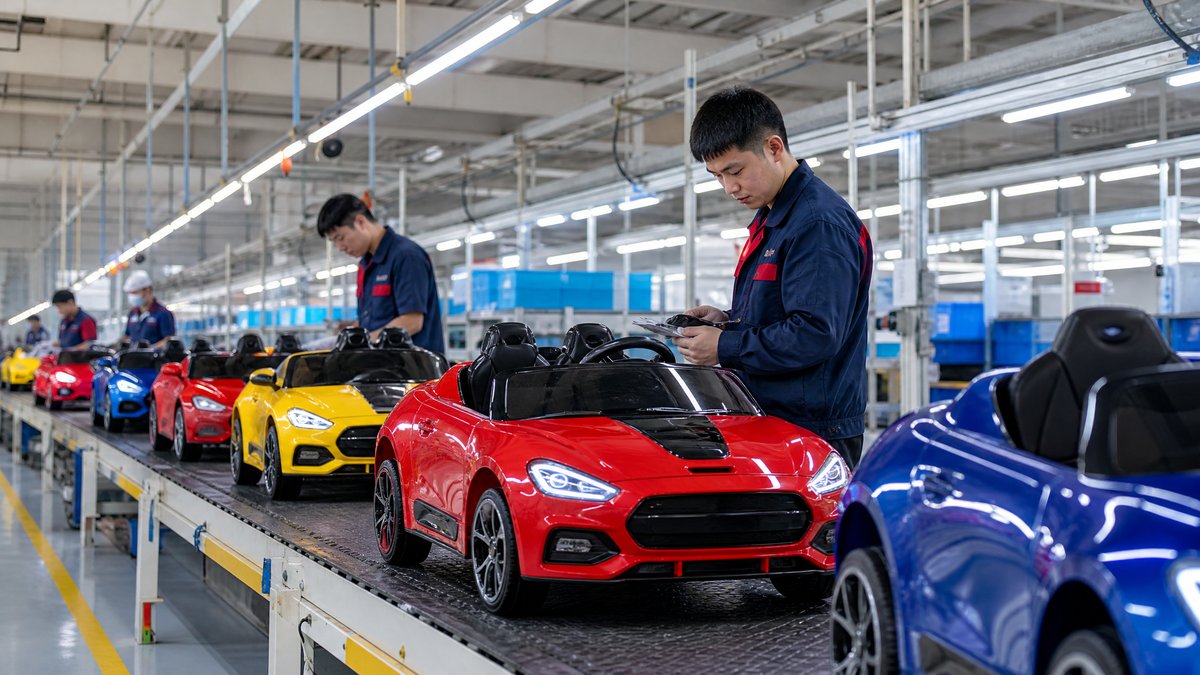
A kids ride-on car retail display and demo checklist should cover five essentials: a stable, model-appropriate product setup; a controlled demonstration area; clear safety and age-use signage; active adult supervision; and named staff responsibilities before, during, and after every customer trial. For B2B buyers, the goal is not simply to make electric ride-on cars look attractive. It is to create a repeatable in-store process that helps shoppers understand the product while reducing preventable confusion, crowding, improper use, and avoidable damage.
A good display turns a product aisle into a guided buying experience. Parents can see the size, seating position, controls, charging information, and included features without guessing. Store teams can explain the correct use case consistently. Retail managers can also protect sellable inventory by separating display units, demo units, and boxed stock. The checklist below is designed for toy retailers, baby-product stores, department-store buyers, franchise operators, distributors, and showroom managers planning a practical ride-on car program.
Start With a Retail Demo Policy, Not Just a Display
Before selecting floor space or assembling a vehicle, define what a demonstration is allowed to accomplish. A demo policy should state whether customers may sit in the vehicle, whether a child may operate it, whether power-on trials are permitted, which models are eligible, and who may authorize an exception. Written rules help different shifts deliver the same experience.
For many stores, the safest starting point is a graduated approach:
1. Static display: Shoppers inspect an unpowered, stable unit and discuss features with staff.
2. Guided seated check: A parent and child assess fit while a staff member remains present and the vehicle stays off.
3. Controlled powered demonstration: An authorized staff member demonstrates operation in a designated area, according to the manufacturer’s instructions for that model.
4. Supervised customer trial, if adopted: A child uses an approved demo unit only when the store’s policy, the product instructions, the space, and adult supervision all support it.
This structure allows retailers to match the experience to their store footprint and staffing level. It also avoids an all-or-nothing decision. A compact specialty store may stop at a guided seated check, while a larger showroom may run scheduled demonstrations. Procurement teams should ask suppliers for manuals, packaging information, assembly instructions, accessory lists, spare-parts procedures, and model-specific operating guidance early. Those documents help the retailer build a policy around the actual product rather than assumptions made from photos or samples.
Assign the Purpose of Each Unit
Do not let one vehicle serve every job by default. Identify each unit with a small internal label or inventory record:
- Display unit: Visual merchandising only; normally remains unpowered.
- Demo unit: Used for staff-led demonstrations and inspected frequently.
- Fit-check unit: Used for seated assessment where permitted by store policy.
- Sale-ready stock: Kept boxed or protected from customer use.
- Service or quarantine unit: Removed from customer access pending inspection, cleaning, repair, or manufacturer guidance.
Build a Safe, Easy-to-Understand Display Zone
The display should make correct customer behavior intuitive. Position ride-on cars on an even, dry, uncluttered surface with enough room for staff to approach from either side. Avoid blocking aisles, emergency routes, exits, escalators, checkout queues, or high-traffic corners. If the space is near other toys, ensure loose small items, hanging merchandise, and display fixtures cannot fall into the vehicle’s intended path.
Product Setup Checklist
Before opening each day, the responsible team member should complete a brief setup check. The exact points must follow the product manual and retailer procedures, but a practical checklist includes:
- Confirm the vehicle is the intended display or demo unit and is clean, dry, and visibly intact.
- Place it on a level surface; follow manufacturer instructions for any stand, restraint, or display fixture.
- Check that wheels, seat, steering components, body panels, and accessible fasteners show no obvious damage or looseness.
- Confirm doors, belts, remote-control functions, pedals, switches, lights, and sounds are addressed only as directed by the model instructions.
- Remove packaging materials, plastic bags, cable ties, tools, and loose accessories from customer reach.
- Verify that the seat and any approved restraint are set up as directed before inviting a child to sit.
- Keep the charging lead, battery compartment, and electrical connections inaccessible to customers unless staff are conducting an approved procedure.
- Record the unit’s status: ready, staff demo only, static display only, or removed from use.
Never improvise a repair, bypass a safety feature, alter wiring, substitute a battery, or modify the speed, drivetrain, controls, or structure to make a demonstration more exciting. If a unit appears damaged or behaves unexpectedly, stop the demo, label it out of service, and follow the manufacturer-approved service route. Procurement leaders should confirm how warranty claims, replacement components, and technical questions will be handled before the first store rollout.
Design a Demonstration Area Around Control, Not Spectacle
A powered ride-on car demonstration needs a clearly managed route, not an open sales floor. Select a low-traffic area with a clean, flat surface and a short, simple path. Keep the route away from doors, stairs, ramps, stock trolleys, glass, sharp-edged fixtures, crowds, and other moving products. The appropriate route and activity depend on the specific model, its instructions, the child’s fit, local store conditions, and the retailer’s own policy.
Supervision Rules That Work on Busy Retail Floors
A demonstration is supervised only when an identified adult is actively present and focused on it. The child’s accompanying adult should remain with the child throughout the trial. A store employee should lead or monitor the activity according to the store’s policy and the product instructions; that employee should not try to supervise a demonstration while also serving a queue elsewhere.
Set a simple stop rule: staff can end any demonstration immediately if the area becomes crowded, the child does not follow instructions, the responsible adult steps away, equipment needs inspection, or store conditions change. This is not poor service. It is a clear safety standard that protects customers and employees.
For a practical script, staff can say: “We can show you how this model operates in the marked area. Please stay beside your child, follow the model instructions, and let us know if you would prefer a static fit check instead.” The wording is courteous, easy to repeat, and does not promise performance beyond what the product documentation supports.
Use Signage to Explain Boundaries Before Staff Need to Intervene
Signage reduces ambiguity, but it does not replace supervision. Use large, plain-language signs at the display entrance, on or near the unit, and at the demo route. Keep wording consistent with the product’s manual and the retailer’s rules. Avoid making broad legal or safety claims that the retailer cannot substantiate.
Useful signs may cover the following points:
- “Please ask a team member before operating this ride-on car.”
- “Children must be accompanied by a responsible adult during demonstrations.”
- “Demo available only in the designated area and when a trained team member is present.”
- “Use only as described in the product instructions.”
- “Display unit: please do not climb, push, or move without staff assistance.”
- “For product age, weight, charging, and operating information, please ask for the manual or product details.”
Pair behavioral signs with product information. A comparison card can show intended user range as stated by the manufacturer, vehicle dimensions, key functions, charging guidance from the supplied documentation, what is included, and whether remote operation is a feature of that specific model. Do not turn a remote-control function into an implied guarantee that it eliminates the need for adult supervision.
Define Staff Roles From Opening Check to Closing Handover
A strong retail program makes ownership visible. Every shift should know who is responsible for opening inspection, customer engagement, demonstrations, incident escalation, cleaning, charging oversight where permitted, and closing checks. The same person does not need to perform every task, but every task needs an owner.
Suggested Role Map
Store manager or department lead: Approves local layout, ensures the policy is implemented, reviews records, assigns trained personnel, and escalates recurring issues to the buyer or supplier contact.
Demo lead: Opens the zone, completes the condition check, controls access to powered demonstrations, delivers the standard customer briefing, and marks a unit out of service if necessary.
Sales associate: Explains model differences, helps customers locate manuals and product details, directs families to the demo lead, and avoids authorizing activities beyond their training.
Stock or service contact: Handles unit rotation, protected storage, cleaning procedure, stock separation, and approved communication with the supplier on parts or service questions.
Buyer or category manager: Selects models suited to the intended retail format, requests supplier documentation, forecasts demo-unit needs, coordinates store training materials, and reviews feedback from the floor.
Plan Battery, Charging, and Transport Procedures Carefully
Battery-related tasks deserve their own retailer process. Staff should follow the model’s supplied instructions and the store’s electrical and fire-safety procedures. Do not charge a vehicle in a customer demo area, do not leave charging equipment where children can handle it, and do not treat a depleted battery as a reason to substitute incompatible components or make an unapproved electrical change.
For procurement, ask suppliers what battery type and charger are supplied with each model, the documented charging instructions, packaging configuration, and any storage or service guidance they provide. Match this information to the retailer’s receiving, storage, and returns process. A buyer should also verify current destination-market requirements and battery-transport requirements with the responsible authorities or carriers before importing, shipping, returning, or transferring battery-powered products. These requirements can vary by route, product configuration, and carrier practice.
Turn the Checklist Into a Better B2B Buying Decision
Retail display planning should influence the purchase order, not follow it. When comparing ride-on car options, buyers should evaluate whether each product can be merchandised and explained within the actual store environment. A product that looks strong in a catalog may require more floor space, more assembly support, more controlled demonstrations, or more trained staff time than a particular channel can sustain.
Use these procurement questions in supplier discussions:
1. Which manuals, assembly guides, product data, and care instructions accompany the model?
2. Which components are included, and which accessories require separate ordering?
3. What manufacturer-approved process applies if a display or demo unit has a defect, missing part, or transport damage?
4. Can the supplier provide current product identifiers and packaging details for inventory and store labeling?
5. What are the recommended storage and charging practices in the supplied documentation?
6. Is there a practical method for separating demo-unit support from consumer-order fulfillment?
7. What information should retailers use when checking applicable destination-market requirements?
Build a launch pack for each participating store: approved signs, a setup checklist, training script, escalation contacts, unit log template, current manuals, and a list of items that require manufacturer approval. Pilot the process in a small number of locations first. Gather staff feedback about queueing, layout, customer questions, and time required for opening checks. Then improve the operating standard before a wider rollout.
Frequently Asked Questions
Should every kids ride-on car retailer offer powered test drives?
No. A powered test drive is only one possible retail format. If the store cannot provide the space, staffing, product-specific instructions, and controlled conditions needed for a responsible demonstration, use a static display and staff-led feature explanation instead. The right choice depends on the product and the retailer’s operational capacity.
Who should supervise a child during a retail demonstration?
The child’s accompanying responsible adult should remain present. A trained store employee should also manage the demonstration in line with the retailer’s policy and the manufacturer’s instructions. Do not assume that signage or a remote-control feature replaces active adult supervision.
Can a store use a sale unit as its demo unit?
It can be operationally simpler to designate a separate demo unit. A unit used for demonstrations may develop wear or require more frequent inspection, and it should not be represented as untouched boxed stock. Establish the inventory status and customer disclosure process before using any unit for demos.
What should staff do if a vehicle is damaged or operates unexpectedly?
End the demonstration, prevent further customer use, identify the unit as out of service, and notify the designated manager or service contact. Follow the manufacturer-approved support process. Staff should not make unapproved repairs, alterations, battery substitutions, or electrical modifications.
What information should be on a ride-on car display card?
Use information supported by the current product documentation: model name or identifier, included items, dimensions where supplied, intended user information, key features, charging guidance, and instructions for requesting a demonstration. Keep the card model-specific and update it when the assortment or documentation changes.
How often should the retail checklist be reviewed?
Complete the operational checks at the frequency set by the store policy and product instructions, commonly as part of opening and before customer use. Review the full checklist whenever a new model arrives, a layout changes, a recurring issue appears, or the supplier provides updated instructions.
Conclusion
An effective kids ride-on car retail display is a controlled customer experience, not an unsupervised play area. The strongest checklist connects product setup, display boundaries, plain-language signage, adult supervision, staff authority, unit tracking, and supplier documentation. For B2B buyers, that approach creates a more consistent rollout across locations and helps teams present products responsibly without overpromising what a demonstration can show.
If you are planning a ride-on car assortment, email KidsRideCar for retail display and product information. For support organizing model documentation and a store-ready discussion, contact the KidsRideCar team.
Official references
Explore these external resources for current regulatory and trade guidance. Confirm requirements with the relevant authority before placing an order.
Ready to Start?
Factory-Direct · CE & ASTM Certified · MOQ from 50 Units
Our export team works with buyers in 60+ countries. Get a quote within 24 hours.
KR
Written by KidsRideCar
China's leading kids electric ride-on car manufacturer. 500,000+ units shipped annually to 60+ countries. CE, ASTM & EN71 certified.